This post may contain affiliate links.
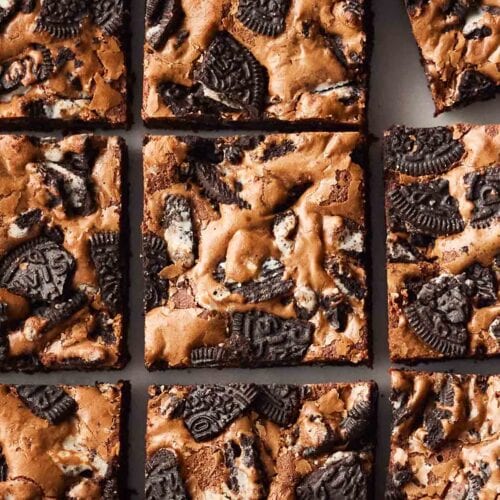
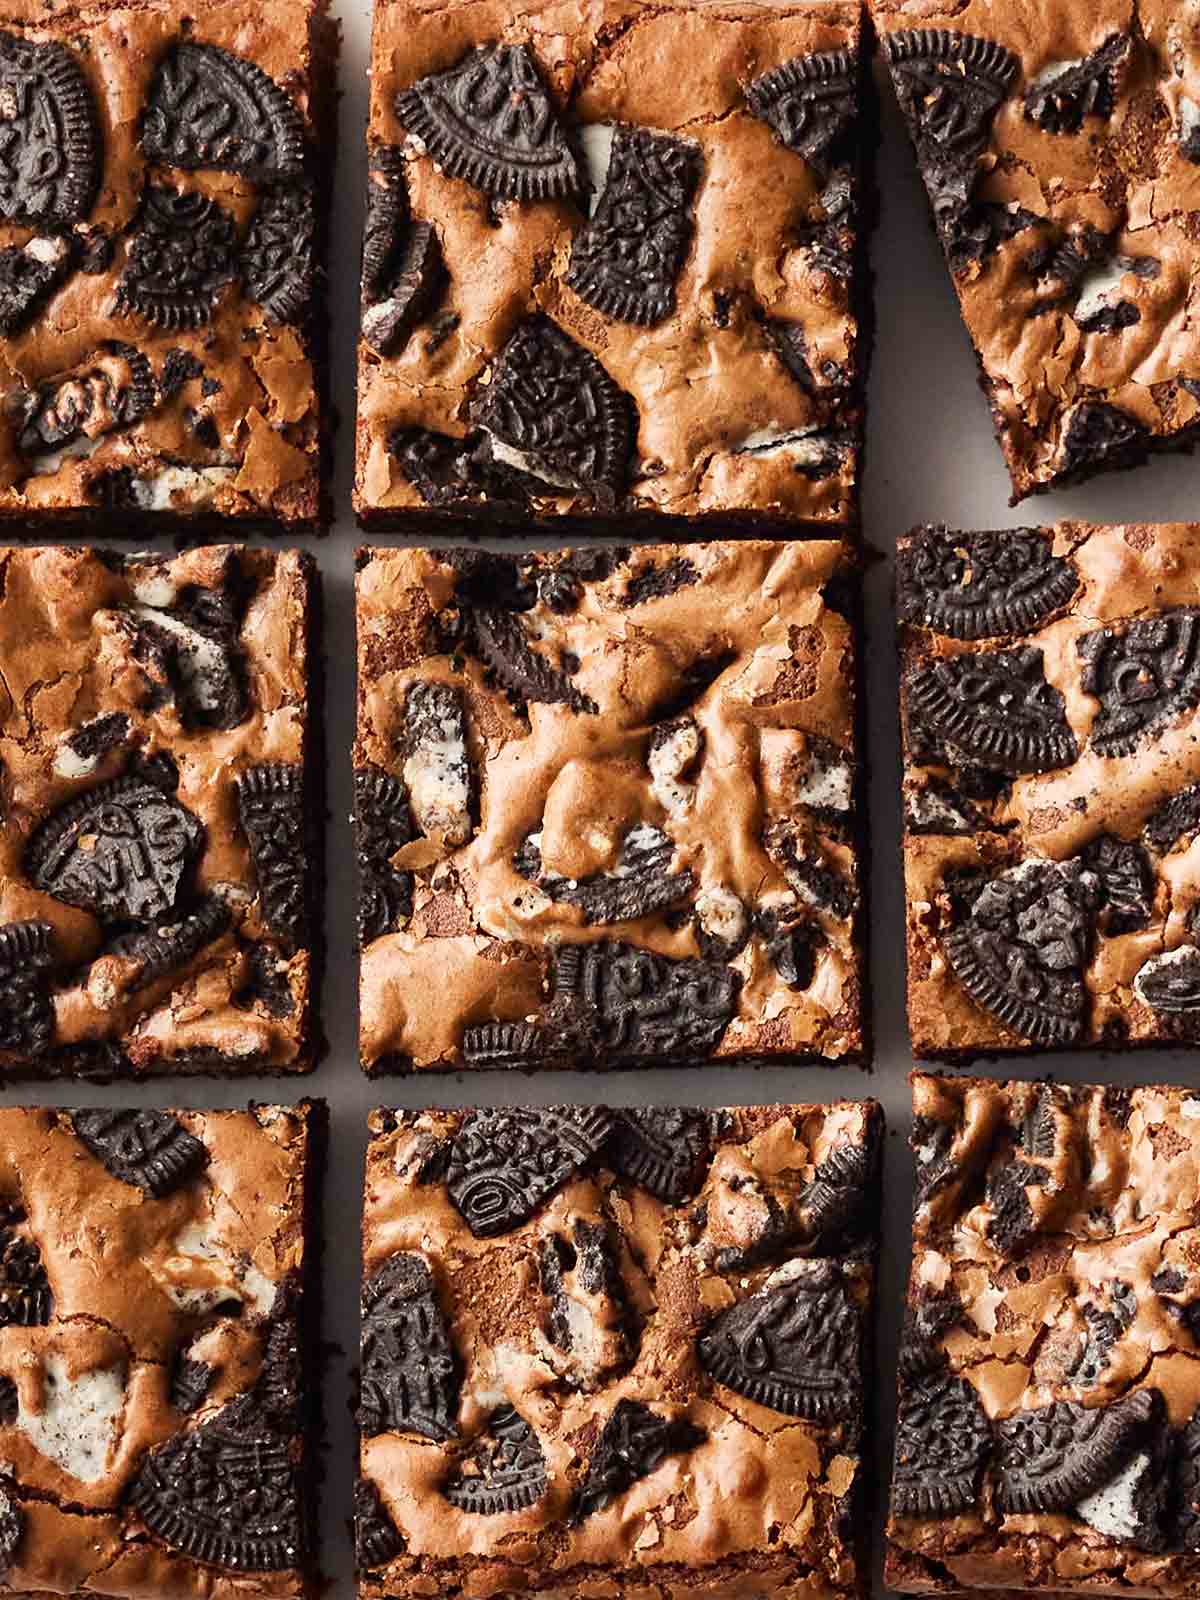
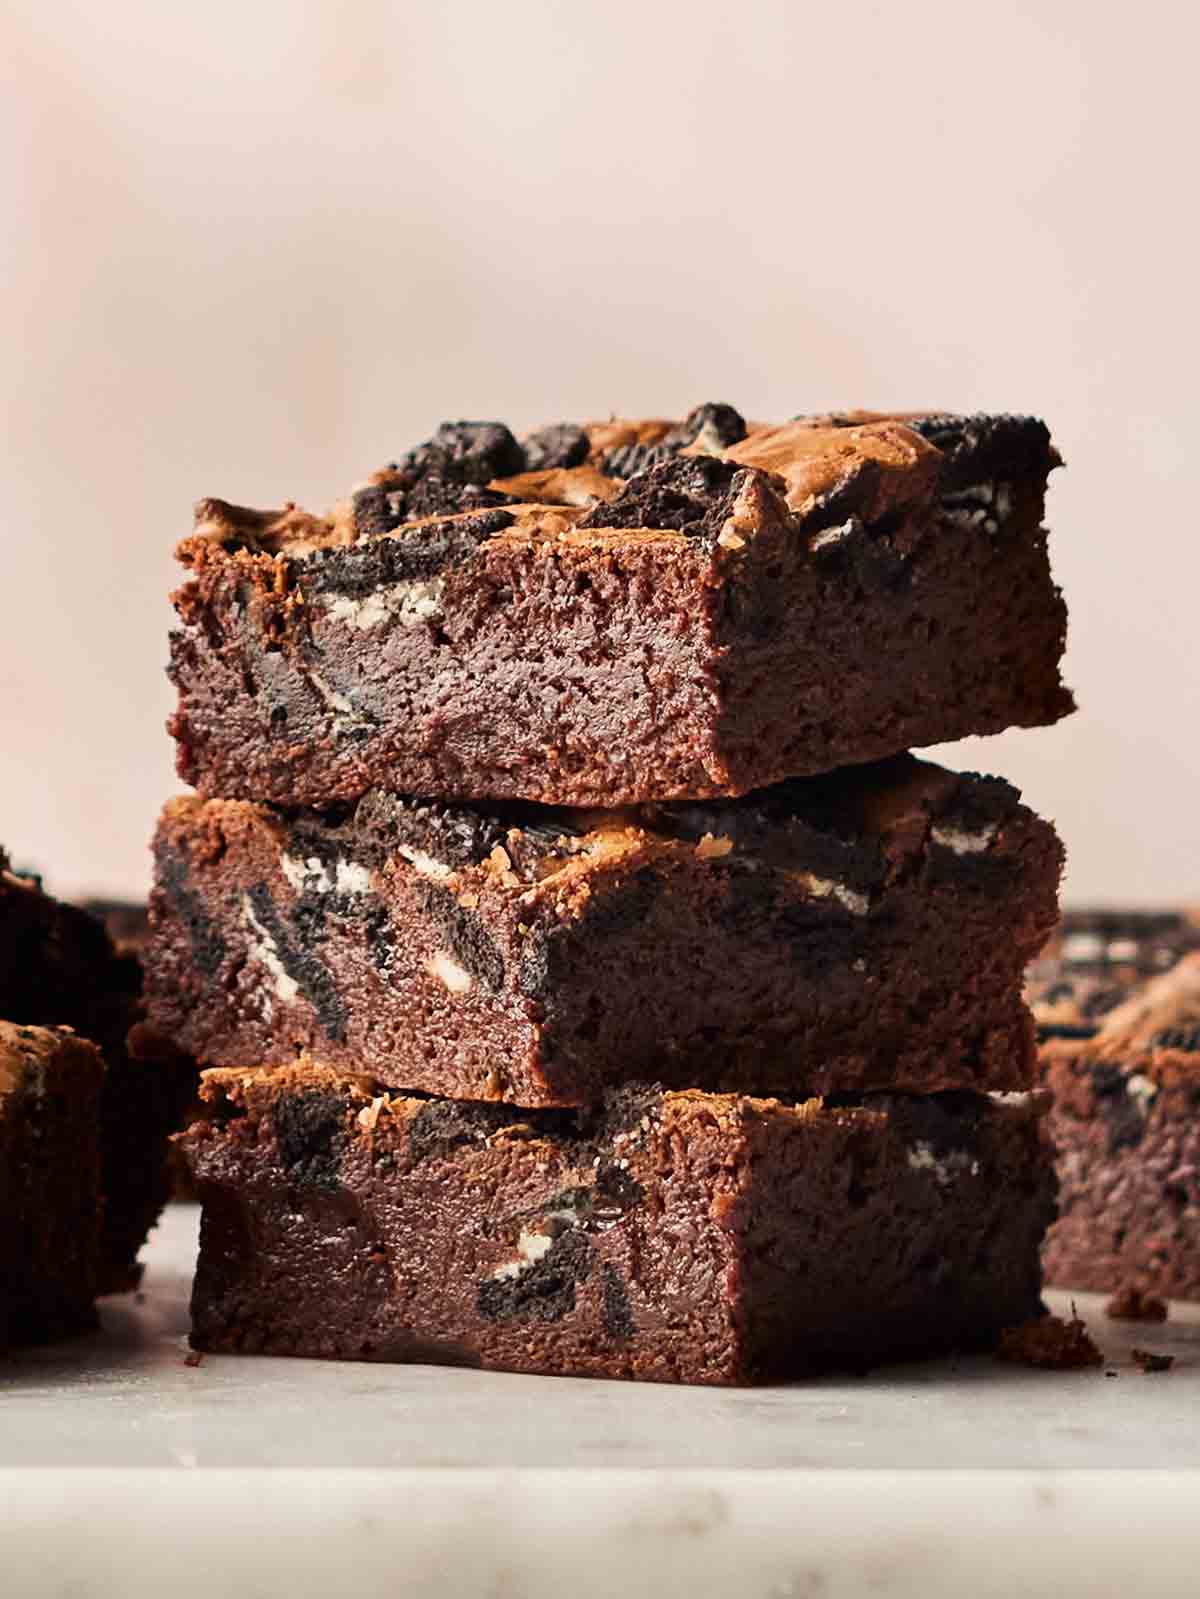
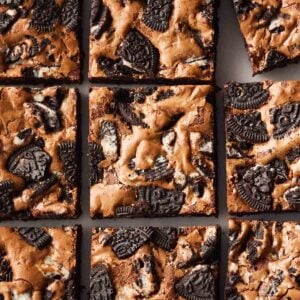
Oreo Brownies are a perfect blend of chocolatey, gooey fudginess and biscuity crunch, all in one bite. They’re so easy to make at home – simply follow this step-by-step recipe to master a batch of indulgent perfection!
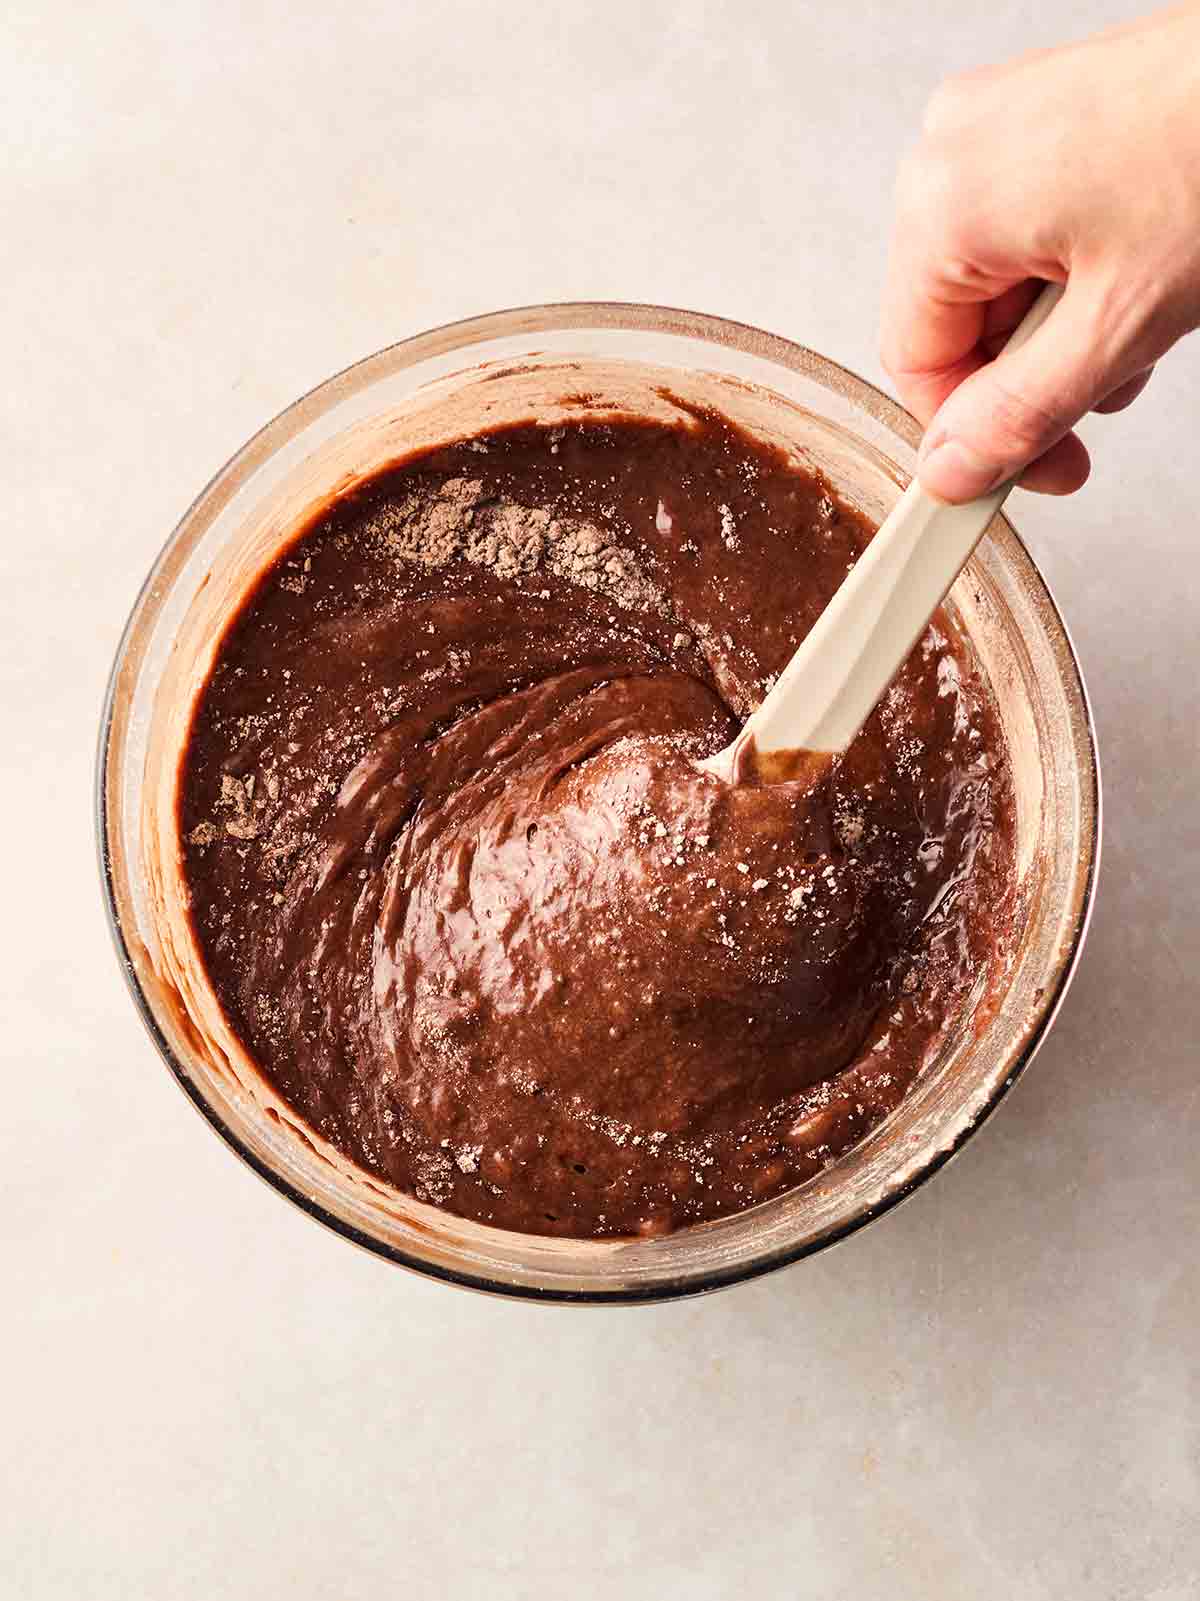
The trick to getting perfect fudgy Oreo Brownies is all in the mixing!
It’s also in the chocolate we use (good quality), the amount of time we bake (not too long!) and the whisking of the eggs and sugar together – but trust me when I say the careful mixing of the batter is vital to getting these treats gooey with a nice amount of crunch from the Oreos.
While we do whisk the eggs and sugar together (this helps add air and keeps our brownies from becoming too dense, and also helps you get that delicious crackly top), but after that it’s all about the gentle mixing that gets us the perfect texture.
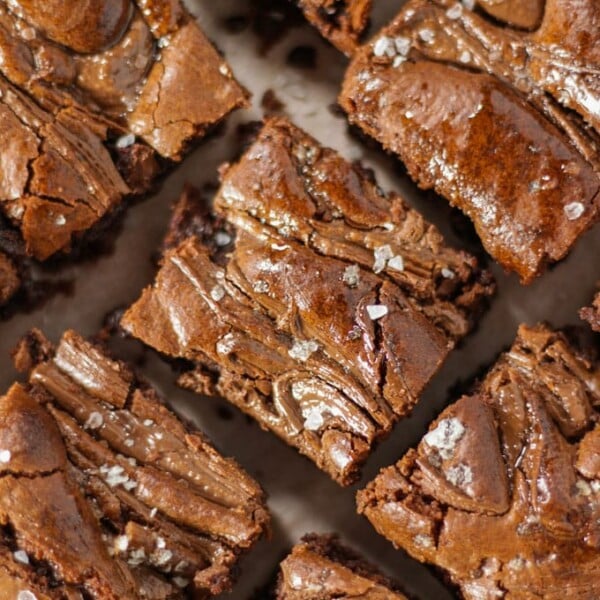
When it comes to the chocolate, we’ve used a mix of dark and milk chocolate as the dark gives a delicious richness and the milk gives extra sweetness, PLUS cocoa powder (a lot of recipes use only cocoa powder.)
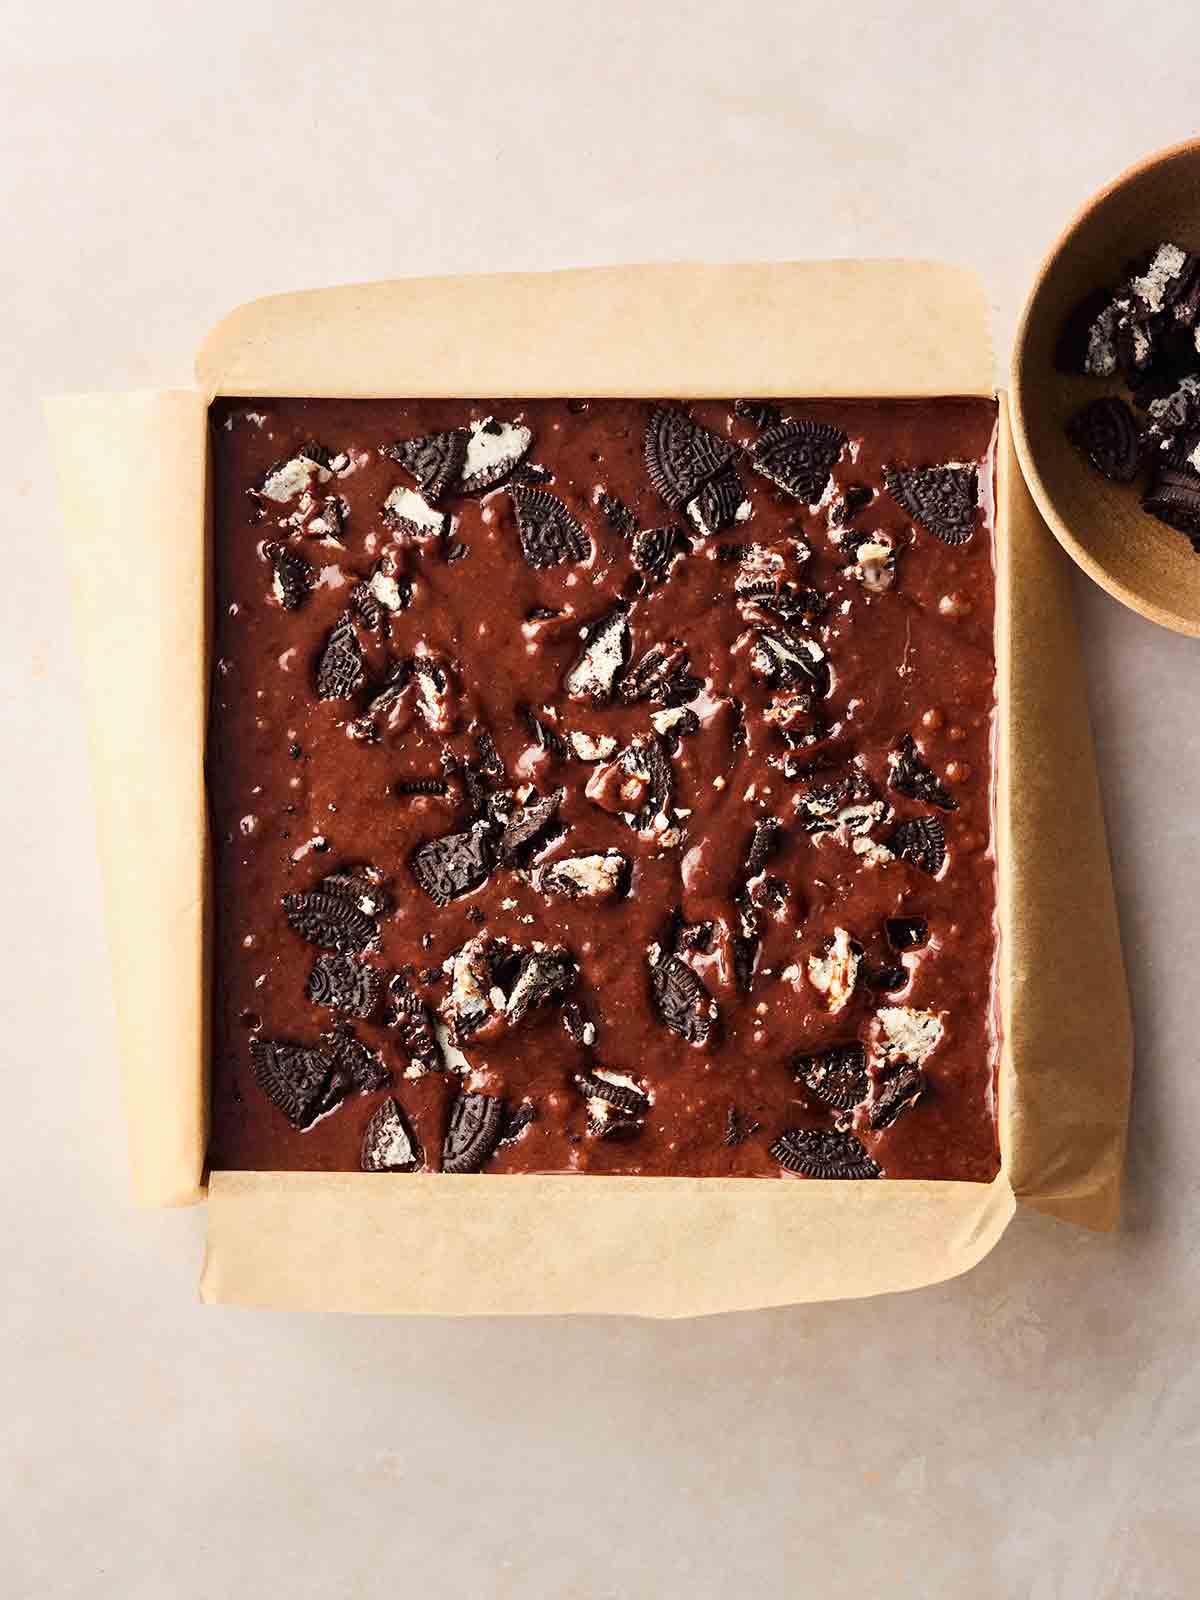
We tested this without cocoa powder to keep it simpler, but using this and chocolate adds a lovely rich, intense chocolatey flavour that we think is worth the tiny extra bit of effort! (Plus obviously the Oreos, which we fold into the mixture for even distribution and some on top for extra crunch and because it looks nice, like with my Chocolate Orange Brownies!)
And of course, we mustn’t forget to NEVER OVER-BAKE BROWNIES!
I might even go as far as saying we should perhaps under bake them a little? We’re baking on a lower heat than usual (160°C fan/180°C/350°F/Gas Mark 4) and it’s essential to keep an eye on them. They should have set edges and top but a skewer will come out of the middle with a few crumbs on it, not completely clean.
Serve them for dessert with vanilla ice cream (or Nice Cream) or as a snack.
Why I love this Oreo Brownies recipe
⭐️ I love making these for bake sales, gifts or even dessert
⭐️ I like a bit more crunch than plain brownies
⭐️ I love how simple this recipe is!
How to melt chocolate for brownies
The easiest way to melt the chocolate BY FAR is to do it in short bursts in the microwave.
Add the chocolate chips and butter to a heatproof bowl and melt together in the microwave, stirring between each burst (no longer than 30 seconds so it doesn’t burn on the edges) until smooth. Leave to cool for a few minutes.
If you don’t have a microwave, you can also do this in a bowl sitting on top of a pan with a few centimetres of simmering water – just make sure the water doesn’t touch the bottom of the bowl.
I used my favourite Callebaut chocolate for this recipe, which is amazing. It melts so well and really makes a difference to any recipe.
When you buy it in bulk (1kg bags at a time) from Amazon it works out to about the same price as supermarket chocolate. A good investment I think as it really does make SUCH a difference.
Oreo Brownies Ingredients
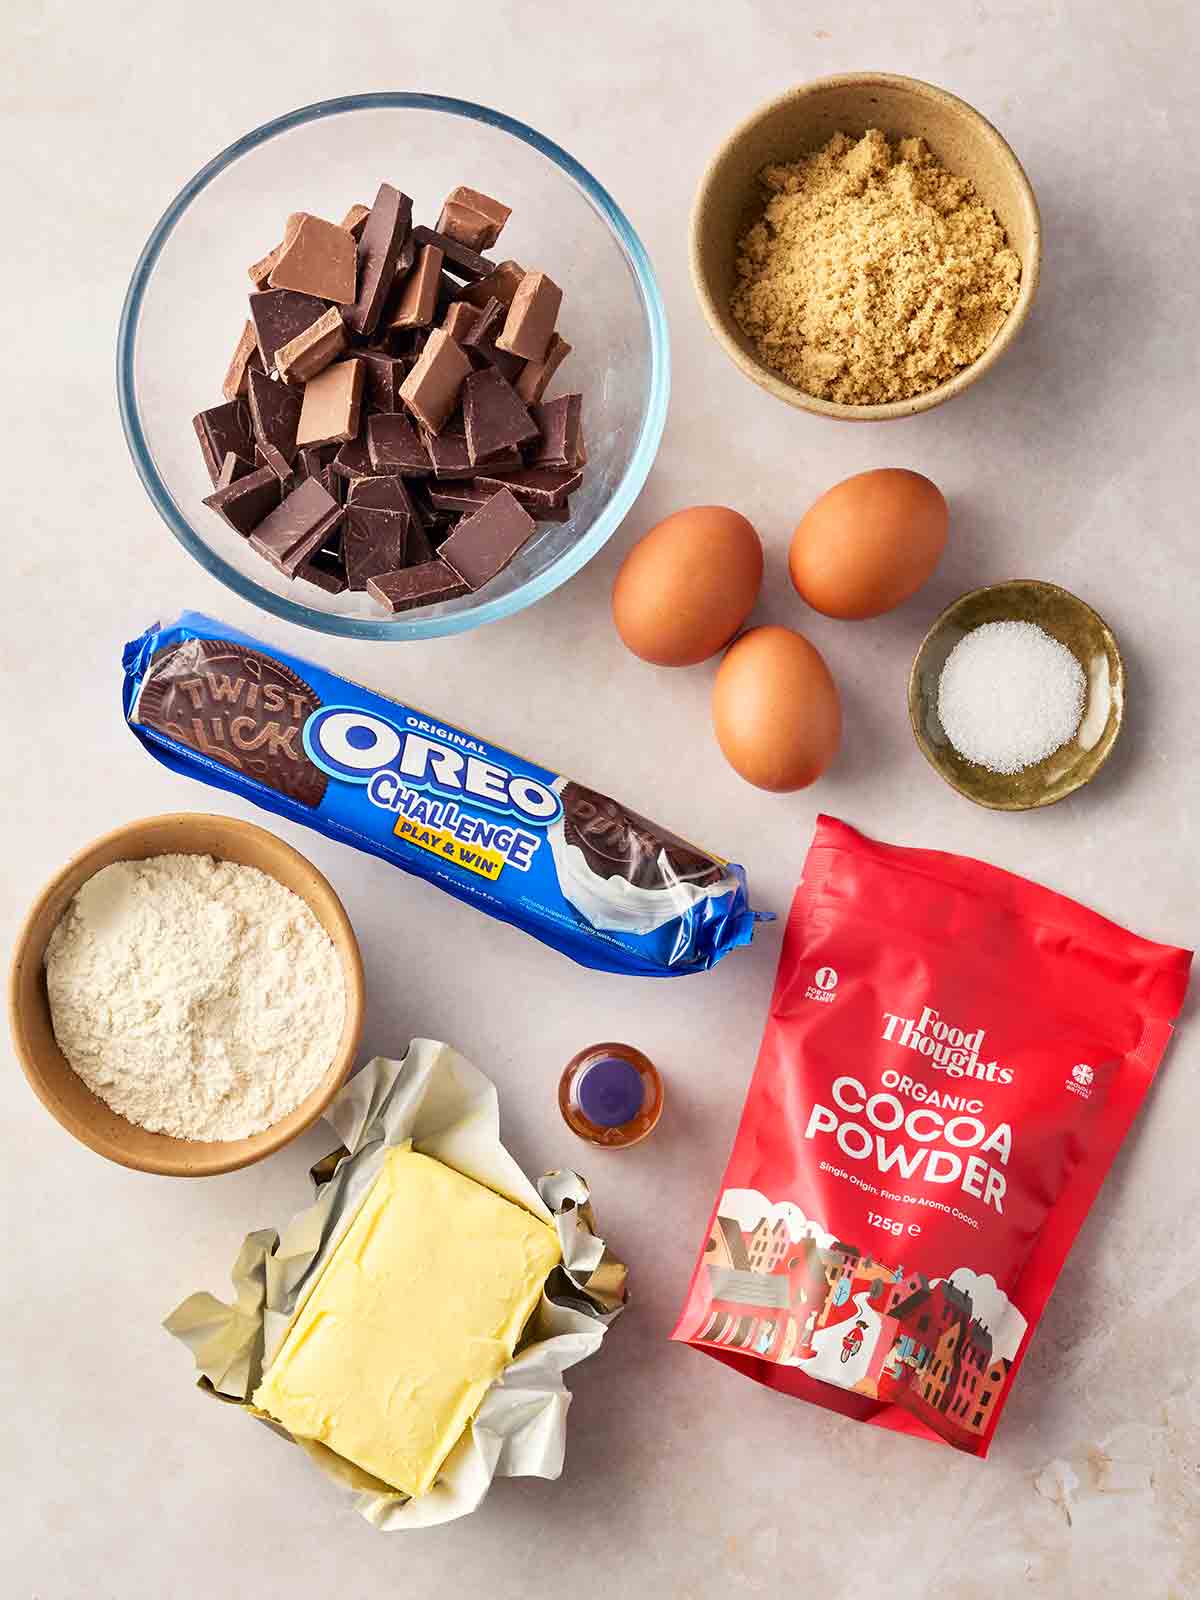
- Chocolate – We’ve used a mix of dark and milk chocolate as the dark gives a delicious richness and the milk gives extra sweetness. I use my favourite Callebaut chocolate for this recipe.
- Salted butter – The salt gives a little extra flavour. Please don’t use margarine!
- Soft light brown sugar – This kind of sugar gives an extra depth of flavour.
- Eggs – You’ll need 3. I use medium, free range eggs.
- Vanilla extract – Make sure this is extract, not essence!
- Plain flour – Also called all-purpose flour outside the UK.
- Cocoa powder – Good quality is best if you can.
- Fine sea salt – Just ½ tsp.
- Oreos – Roughly chop these into quarters.
How to make Oreo Brownies
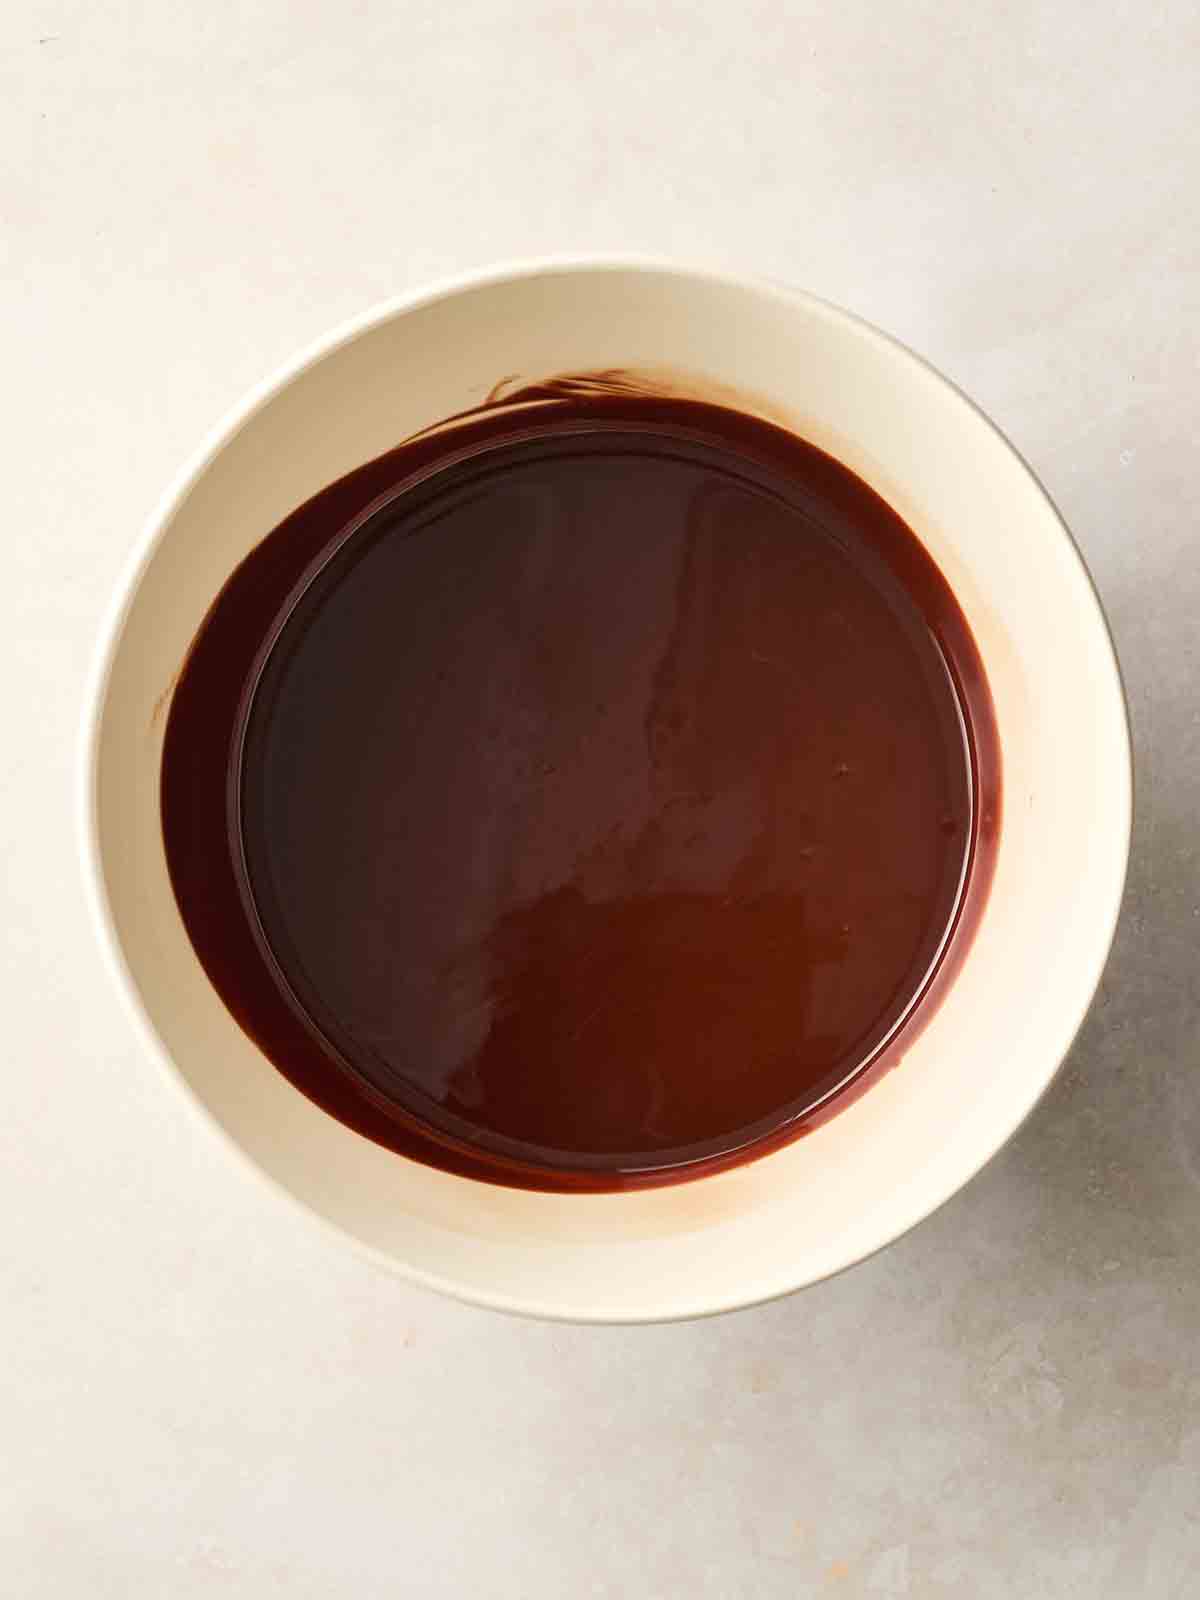
1. Melt the chocolate in a bowl, as per the full recipe below.
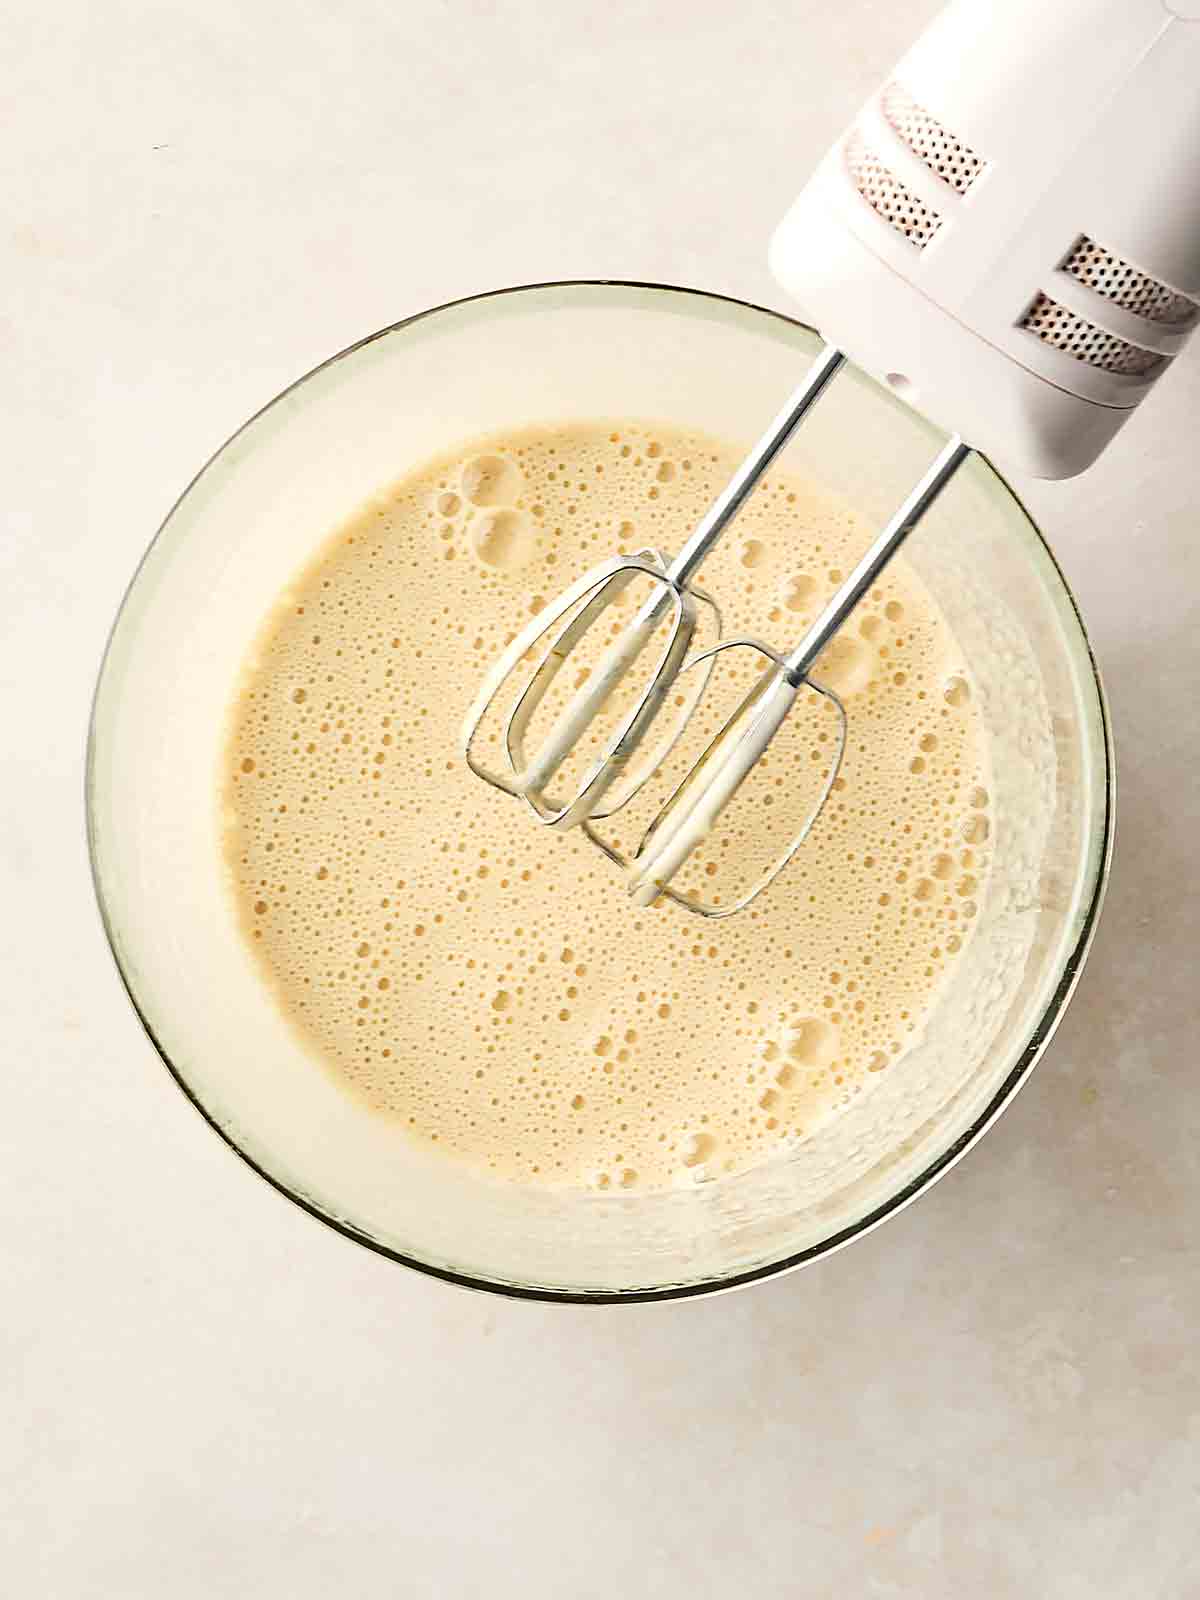
2. In a separate large bowl, whisk the sugar, eggs and vanilla together until smooth and almost foamy.
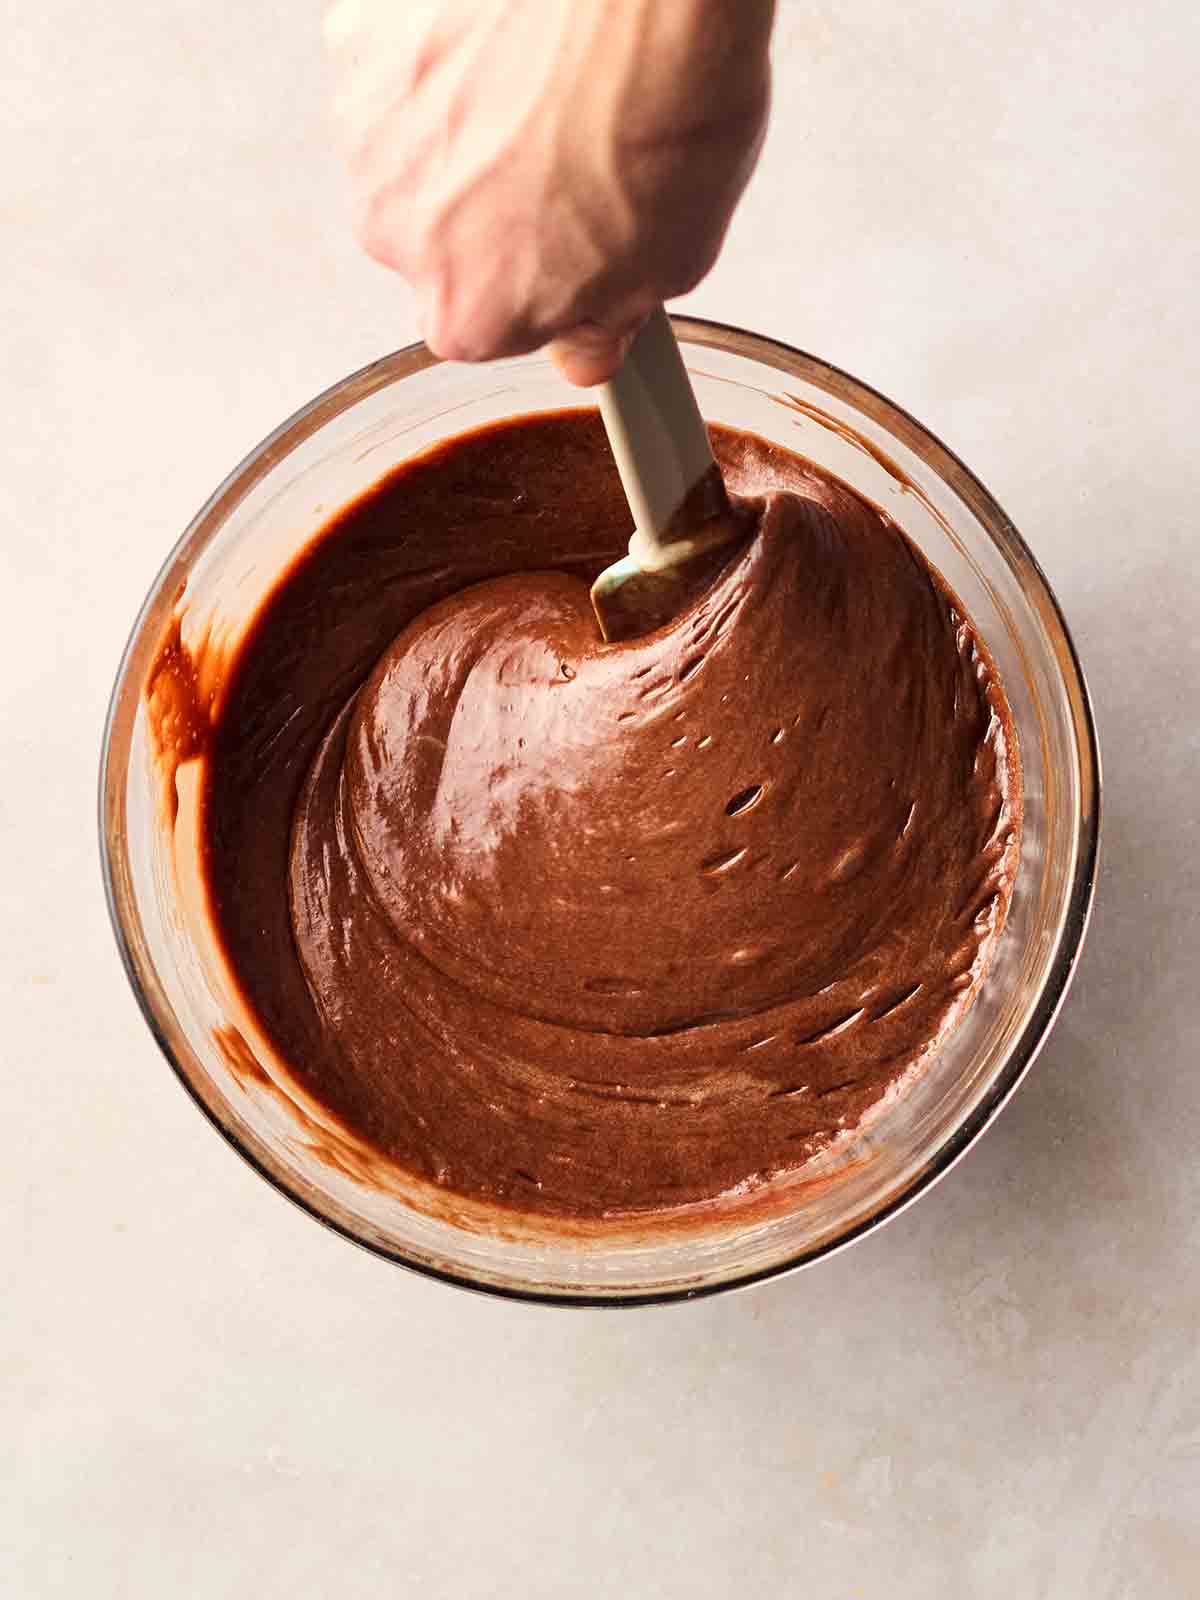
3. Whisk in the chocolate and butter mixture then fold in the flour, cocoa powder and salt.
4. Gently stir most of the Oreos into the batter.
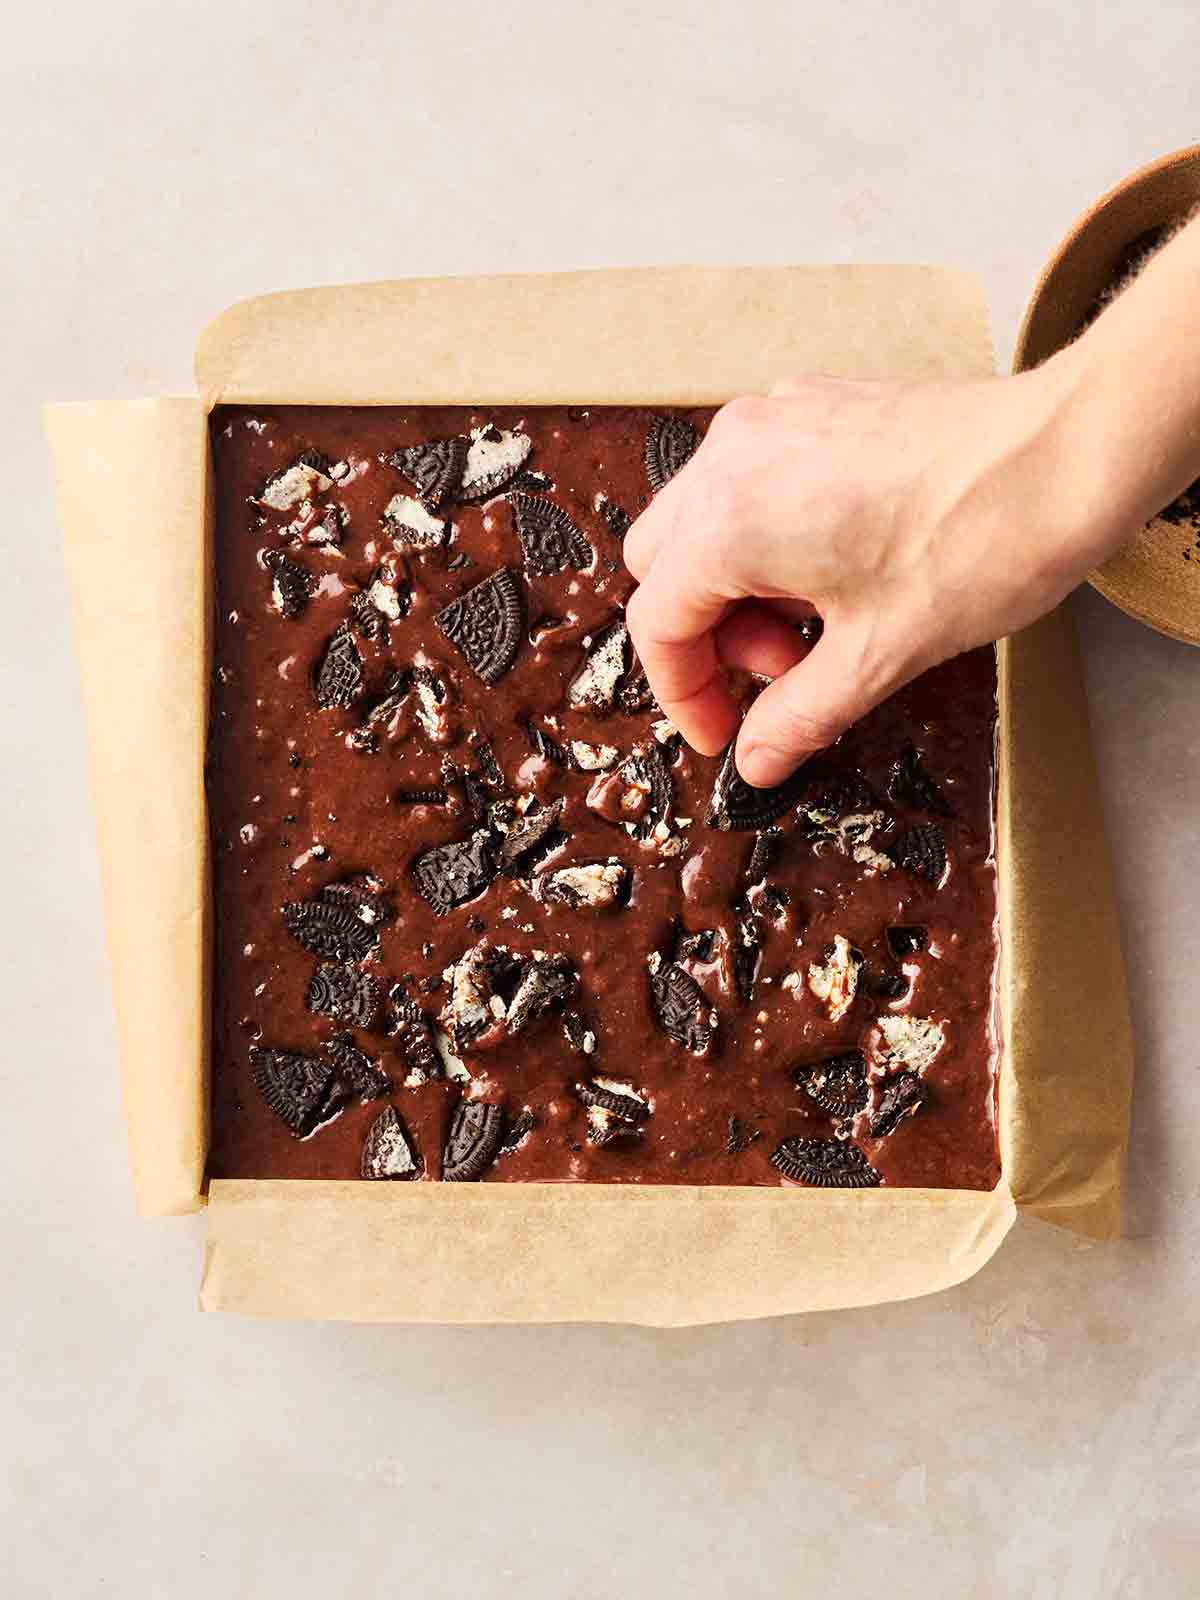
5. Spoon the mixture into the lined tin and spread out. Scatter over the rest of the Oreos.
6. Bake according to the recipe instructions below.
Substitutions
- Oreos – I use the classic Oreos for this recipe usually, but feel free to mix it up and use different flavours if you like. You can even get gluten free Oreos now if you’d like to make this recipe GF.
Storing
If you keep the brownies in an airtight tin they will stay fresh for up to 5 days. There is no need to refrigerate them.
Can you freeze brownies?
Yes! I often make a double batch and freeze. After cutting them into portions, when they are completely cool, wrap in baking paper and freeze for up to 3 months.
Defrost at room temperature for a treat whenever you fancy.
Recipe Tips
Mixing
It’s best to use a handheld whisk for this recipe as it reduces the chance of overmixing, which can cause brownies to be more cakey than we’d like. Go gentle with it!
Whisking the eggs and sugar together helps add air and keeps our brownies from becoming too dense, it also helps you get that delicious crackly top.
Cake tin
This recipe is best for a 20×20 cake tin. Make sure you line your tin before adding the mixture.
What to serve with your brownies
Obviously brownies are a delicacy all on their own, but they do work served as dessert with vanilla ice cream (they’re great being warmed up in the microwave too!)
More Brownie recipes…
Sweet Things
Peanut Butter Brownies {The Ultimate Recipe!}
Sweet Things
Nutella Brownies {Just 3 Ingredients!}
Sweet Things
Perfect Creme Egg Brownies
Sweet Things
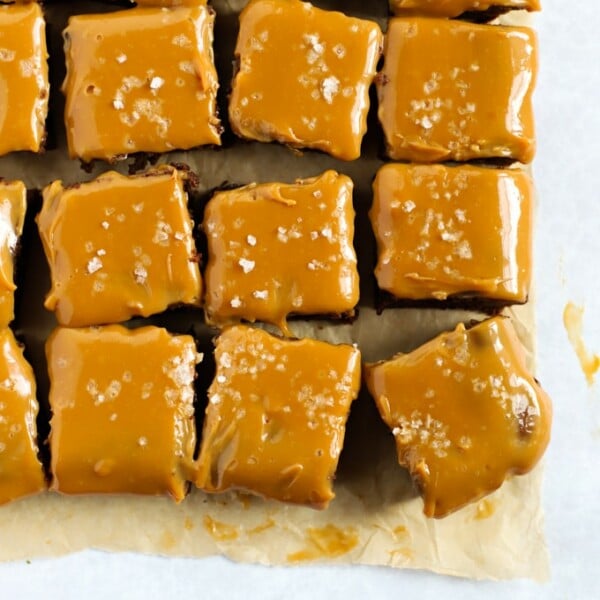
Salted Caramel Brownies
FAQs
Remember, these aren’t cakes and we want them to be slightly gooey and underdone to get that perfect brownie squidiness. So bake for about 30-35 (or less depending on how hot your oven is), and make sure you keep an eye on them towards the end of the baking time.
They should have set edges and top but a skewer will come out of the middle with a few crumbs on it, not completely clean.
Be sure to resist and let them cool down fully before cutting. They will fall into a mess if you cut them before they are cold!
As many as you like! The images here show them in a batch of 9, but you can make more by making the squares smaller when you slice them (or make bigger, fewer ones if you prefer!)
This could also be cut into 12 squares or 16.
Let me know how you got on and what you thought of these recipes. Please rate the recipe using the ⭐️ below.
Also I’d LOVE to see your cooking creations. If you’d like to share yours with me, you can tag me on Instagram (@tamingtwins).
Oreo Brownies
Ingredients
- 150 g (1 cup) Dark chocolate
- 80 g (0.5 cup) Milk chocolate
- 180 g (6 oz) Salted butter
- 200 g (1 cup) Soft light brown sugar
- 3 Eggs
- 175 g (1 cups) Plain flour (all-purpose flour)
- 2 tbsp Cocoa powder
- 1/2 tsp Fine sea salt
- 150 g (5 oz) Oreos, Roughly chopped into quarters
Instructions
- Prepare: Preheat the oven to 160°C fan/180°C/350°F/Gas Mark 4 and line a 20x20cm cake tin with parchment paper.
- Melt the chocolate and butter: Add the chocolate chips and butter to a heatproof bowl and melt together in short bursts in the microwave, stirring between each burst until smooth. Leave to cool for a few minutes. (You can also do this in a bowl sitting on top of a pan with a few centimetres of simmering water, just make sure the water doesn’t touch the bottom of the bowl.)
- First whisk: In a separate large bowl, whisk the sugar, eggs and vanilla together with a handheld whisk for 2-3 minutes until the mixture is smooth and almost foamy.
- Combine: Whisk in the chocolate and butter mixture then fold in the flour, cocoa powder and salt. (Stop mixing when there are no pockets of flour left, don’t over mix.)
- Oreos in: Gently stir most of the Oreos into the batter.
- Into the tin: Spoon into the lined tin and spread out. Scatter over the rest of the Oreos (this makes sure you get lots of Oreo in each bite.)
- Bake: Bake for 30-35 minutes. You need to keep an eye on your brownies towards the end of the baking time. They should have set edges and top but a skewer will come out of the middle with a few crumbs on it – not completely clean.
- Cool: Leave to cool completely in the tin before slicing.
Did you make this recipe? Click here to let us know how it went and give it a ⭐️ rating! Your feedback helps us to make more recipes you really want.
Notes
Nutrition
Nutrition information is automatically calculated, so should only be used as an approximation. Nutritional values are per portion unless otherwise stated.
This post was originally published on June 13, 2016 and updated later to make improvements.


Sooo good. Very rich.
Thanks for sharing, these look yummy 🙂
Nic | Nic’s Adventures & Bakes
I usually don’t comment on anything but this recipe was amaaaazing. People absolutely loved it. I had to bake it more than an hour though, but that may have had something to do with my oven…
Hello! So happy to hear it went down well! Thanks for taking the time to comment 🙂
Hi,
Can I use gluten-free flour mix to replace plain flour?
Thank you! xx
I feel like the addition of raspberries basically makes this one of your five-a-day, right? Chocolate and raspberries are never a bad choice!
These look amazing! I will have to try these for sure. Lovely story too, we have a ‘Aunty Shell’ who sounds very similar x
Aw these look dreamy, bet Dave gobbled them up, we have friends who are honorary uncles and aunts and it’s just so lovely isn’t it x
Uh oh I totally should not have read this while hungry!! Looks divine! Uncle Dave sounds like a top dude – glad he got to enjoy this scrummyliciousness!