
This post may contain affiliate links.
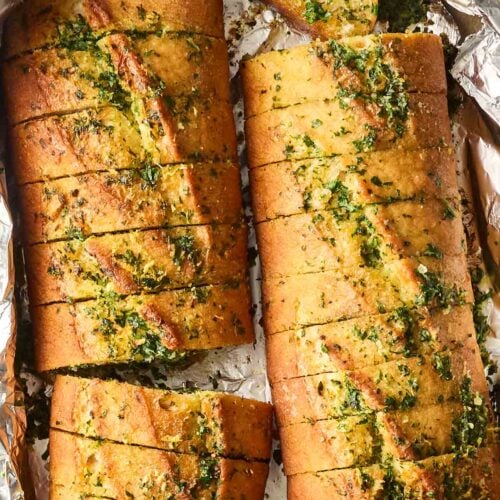
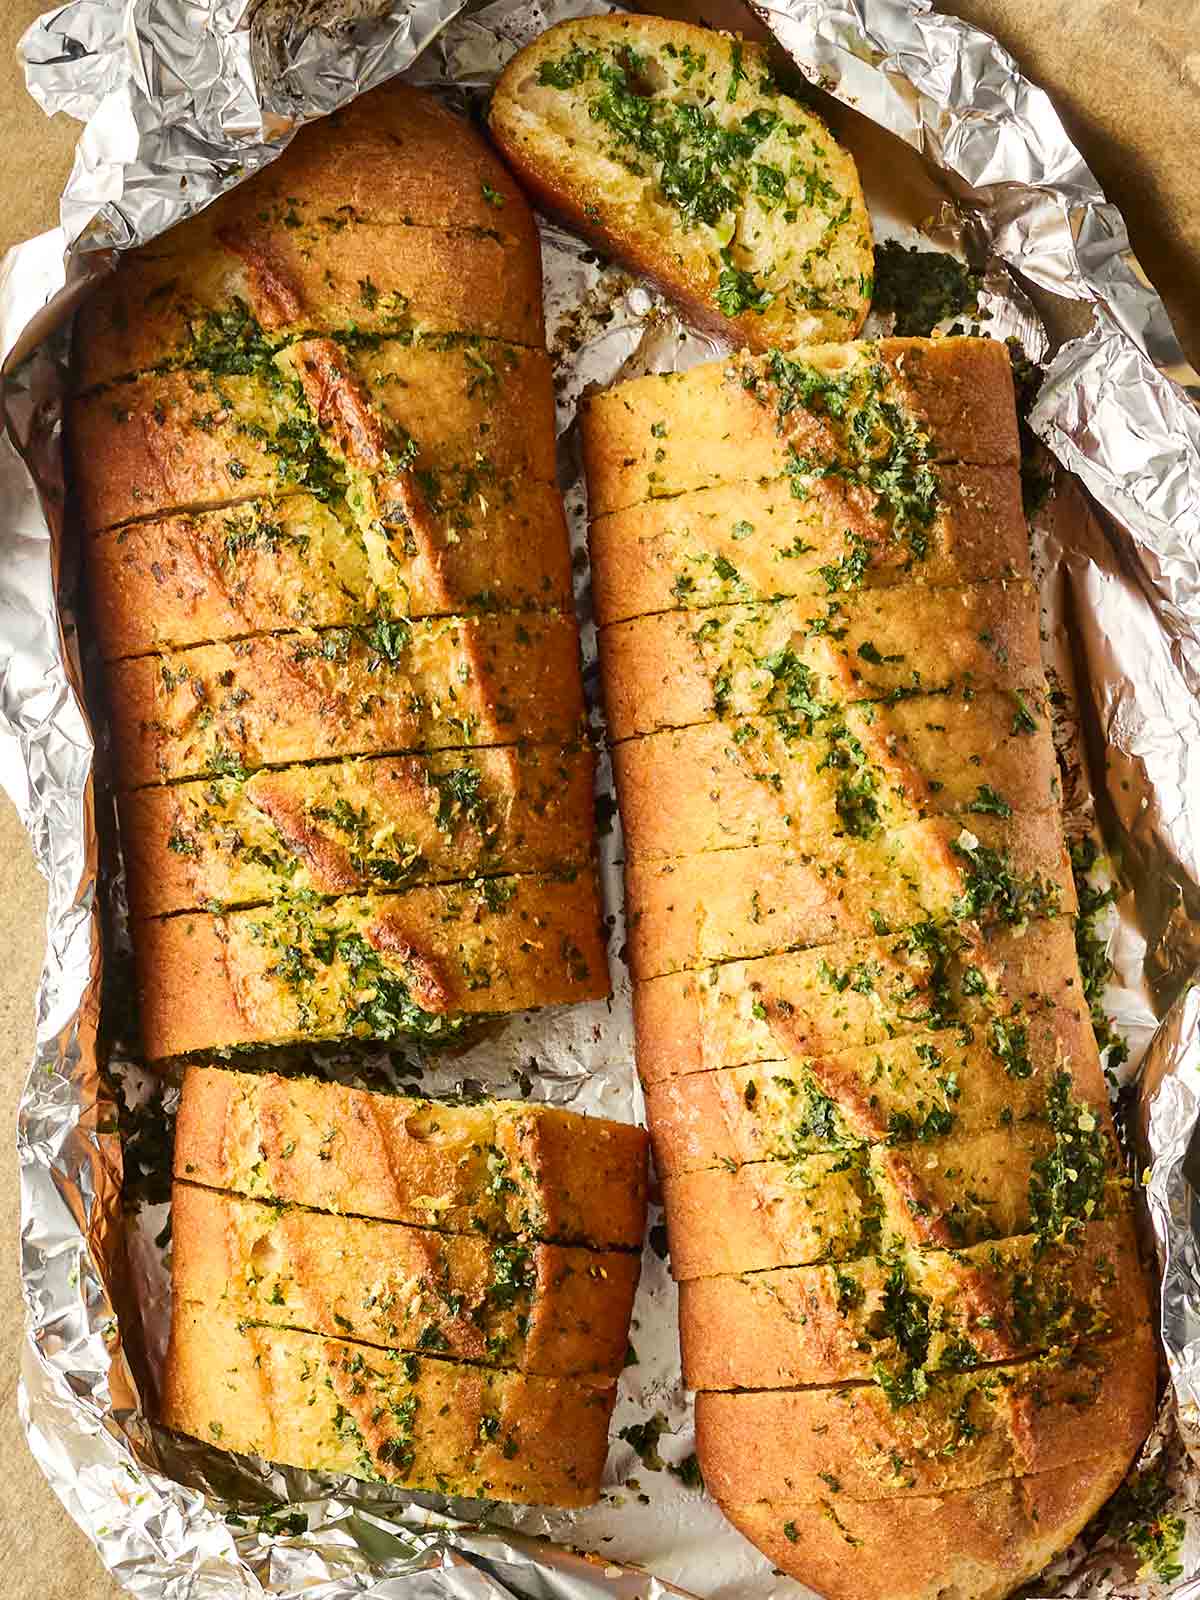
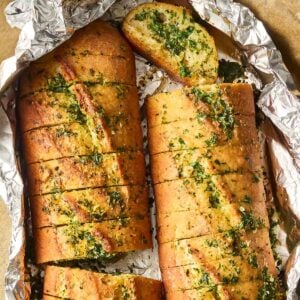
Aromatic garlicky, herby, buttery bread, straight out of the oven? Yes please. You can’t beat homemade Garlic Bread. It’s way easier to make than you might think and gives you a delicious, crunchy side dish in under half an hour!
So often I used to think of Garlic Bread as an afterthought. Perhaps something from the freezer that I can stick in the oven to bulk out a meal.
That is, until I made my own and discovered just how utterly simple AND delicious it could be!
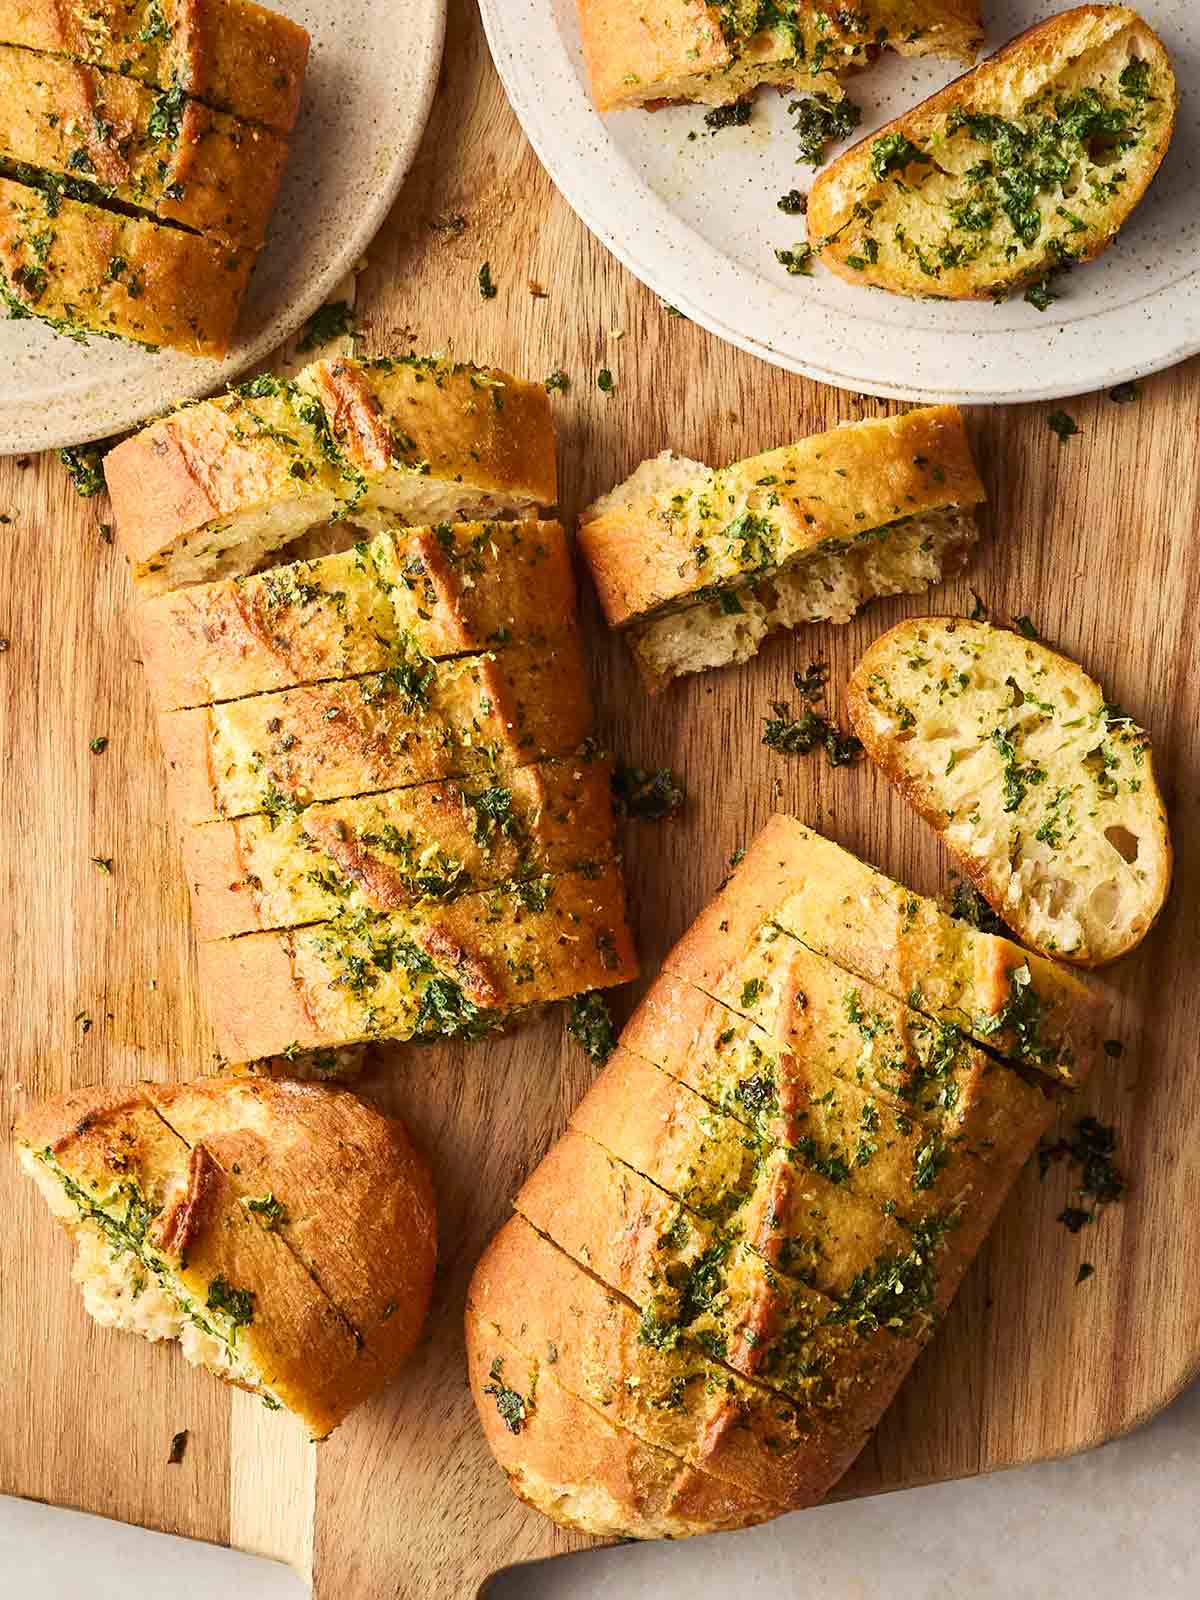
Satisfyingly crunchy, doughy, garlicky and buttery – can warm bread straight out of the oven get any better?!
It’s now the only way I serve up Garlic Bread as a side dish when I have guests round or am making a special family dinner – usually alongside Lasagne or Spaghetti Bolognese.
I mostly make this in the oven but you can also make it in the air fryer too. Details for this are below and in the recipe card.
To make this the BEST Garlic Bread, we use fresh garlic for the strongest flavour instead of garlic granules, which admittedly I do use in a lot of my recipes, but not for this.
For extra crunch, I like to sprinkle a little flaky sea salt on top of the bread before baking, and if you’d like to make this into cheesy Garlic Bread, you can. Simply mix 100g of cheese into the butter mix before spreading in and on the baguette. Yum.
Remember to wrap the bread in foil while cooking to make sure everything stays soft and buttery, then give it a few minutes without the foil to get a crunchy crust.
Why you’ll love this easy Garlic Bread recipe
⭐️ Healthier than shop-bought
⭐️ Simple but special side dish
⭐️ Tastes and smells amazing!
Sarah’s Notes
For this we’re using a bought baguette because realistically this is what I usually have time for, presumably that goes for most of us.
However, there are times when I go the whole hog and make a loaf of my No Knead Bread alongside my Homemade Butter for the most fantastic Garlic Bread from scratch, if you really want to push the boat out!
I love this recipe for how versatile it is. Barbecues, weekend dinners or weeknight one pots… You name it, if I have a baguette to hand, I love to whip up garlic bread while things are cooking!
Whether it’s Aubergine Parmigiana or Ratatouille, Beef Ragu or Classic Meatballs, it’s always a welcome addition to the table.
Homemade Garlic Bread Ingredients
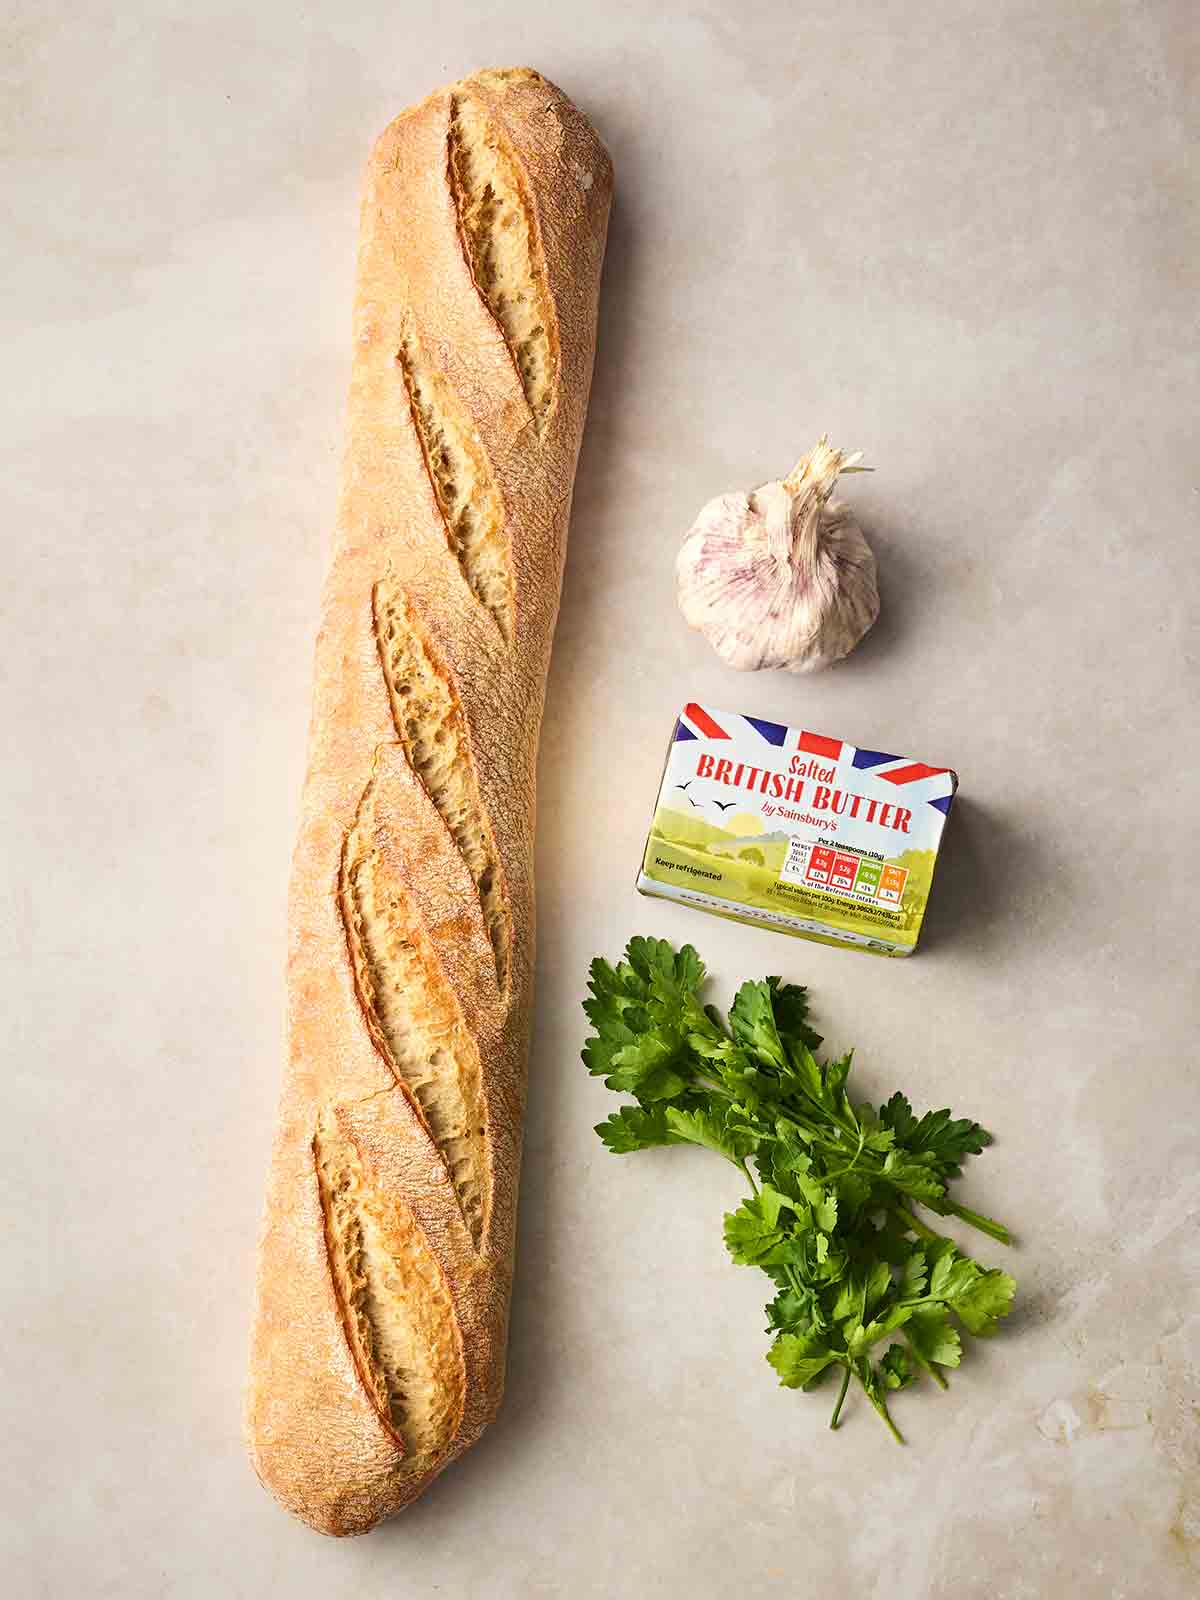
- Baguette – Go for a large one, about 400g/14oz in weight.
- Salted butter – This needs to be softened first.
- Garlic cloves – We’re using fresh garlic for this recipe to get that real depth of flavour.
- Parsley – Finely chopped, fresh.
- Sea salt and freshly ground black pepper – Season generously.
- For Cheesy Garlic Bread – If you want to go with this option, you’ll need 100g/1 cup of grated mozzarella.
How to make Garlic Bread
1. Mix together the softened butter, garlic, parsley and a few grinds of fresh black pepper (as per the full recipe below).
2. Cut the baguette into thick slices, but not all the way through. Keep the base intact so the loaf stays together.
3. Spread the herby garlic butter in-between each slice, then spread any leftover over the top of the baguette.
4. Wrap the bread in foil and bake according to the timings below, then open it up and bake again until golden and crispy.
For the air fryer method, see the full recipe below.
Leftovers & Storing
If you want to prepare this ahead of time, you can do all the preparation, then keep it in the fridge, unbaked and wrapped in foil, for up to 2 days.
Homemade Garlic Bread is best enjoyed when freshly baked, however if you have leftovers, store the baked bread in an airtight container for up to 1 day.
You can reheat it in the oven or air fryer until warm.
Recipe Tips
Fresh garlic is a must!
Fresh garlic gives the strongest flavour, which is why we have used it instead of garlic granules in this recipe. We really want to make sure that garlic flavour comes through.
Get a salty extra crunch
For extra crunch, sprinkle the top of the baguette with a little flaky sea salt before baking.
Wrap in foil
Wrapping the garlic bread in foil makes sure the baguette inside stays buttery and soft, but making sure the last few minutes of baking without foil means you get that delicious crunchy crust.
For Cheesy Garlic Bread
Mix 100g/1 cup of grated mozzarella into the butter mix before spreading it in and onto the baguette.
More tasty side dishes…

Side Dishes
Classic Potato Salad
Side Dishes
Classic Coleslaw
Side Dishes
Fresh Salsa
Side Dishes
Easiest Ever Homemade Oven Chips
FAQs
The trick is in the last few minutes of cooking. After 10 minutes of the baguette baking while wrapped in foil, simply unwrap it and cook for another 4-5 minutes to get that crunchy outer crust.
Let me know how you got on and what you thought of these recipes. Please rate the recipe using the ⭐️ below.
Also I’d LOVE to see your cooking creations. If you’d like to share yours with me, you can tag me on Instagram (@tamingtwins).
Homemade Garlic Bread Recipe
Ingredients
- 1 Large baguette, About 400g/14oz
- 100 g (4 oz) Salted butter, Softened
- 4 Garlic cloves, Peeked and finely grated
- 15 g (1/4 cup) Fresh parsley, Finely chopped
- Sea salt and freshly ground black pepper, To season
Instructions
- Preheat the oven: 200°C fan/220°C/425°F/Gas Mark 7.
- Make up the butter: In a bowl, mix together the softened butter, garlic, parsley and a few grinds of fresh black pepper.
- Slice the bread: Cut the baguette into thick slices, but not all the way through – keep the base intact so the loaf stays together.
- Spread the butter: Generously spread the herby garlic butter in-between each slice then spread any leftover over the top of the baguette.
- Wrap in foil: Wrap the bread loosely in foil and bake for 10 minutes.
- Unwrap for crunch: After 10 minutes, open the foil and bake for another 4–5 minutes until the bread is golden and crisp.
Air Fryer Method:
- Heat the air fryer to 180°C/350°F.
- Place the prepared and wrapped garlic bread into the basket. (You may need to cut the baguette in half and have 2 foil parcels to help it fit.)
- Air fry for 6-7 minutes, then open the foil and cook for another 2–3 minutes until crispy and golden.
Did you make this recipe? Click here to let us know how it went and give it a ⭐️ rating! Your feedback helps us to make more recipes you really want.
Notes
Nutrition
Nutrition information is automatically calculated, so should only be used as an approximation. Nutritional values are per portion unless otherwise stated.