This post may contain affiliate links.
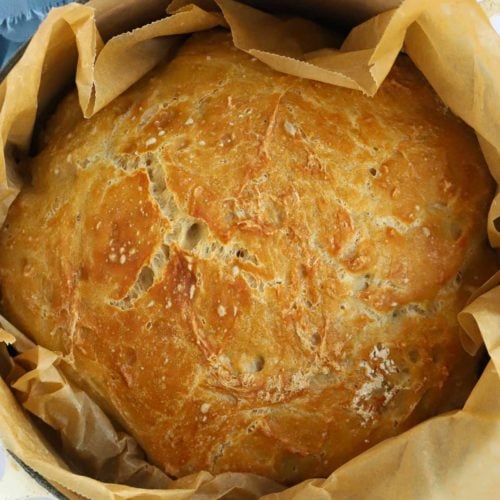
With zero skill or bread making experience needed, mix 4 ingredients into a dough, leave to prove overnight and you’ve got an artisan style loaf of No Knead Bread in the morning!
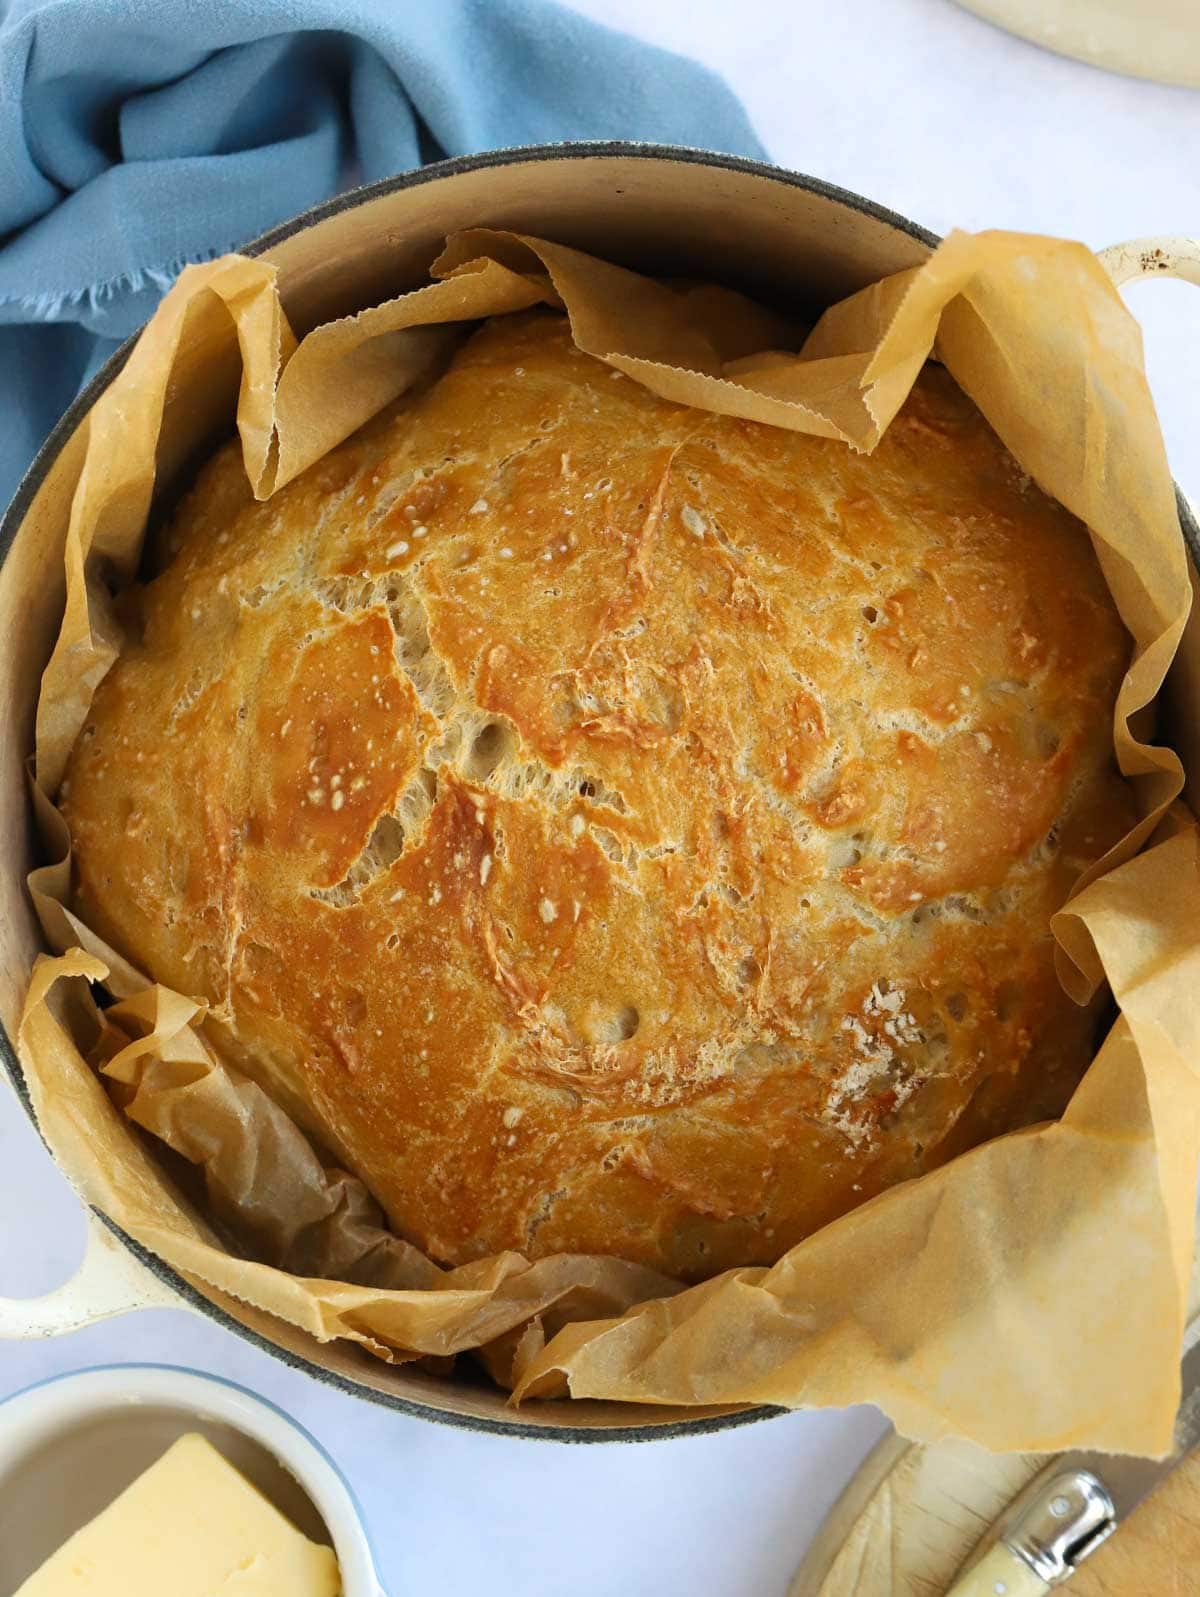
Did you know, there’s just 4 ingredients and a good night’s sleep between you and hot, fresh bread?!
Please don’t let the fact that you’re not a baker (or very patient) put you off. This shortcut No Knead Bread makes a homemade loaf achievable for everyone.
Why you’ll love this No Knead Bread recipe
⭐️ Just mix 4 ingredients
⭐ No skill required
⭐️ Cheaper that buying sourdough
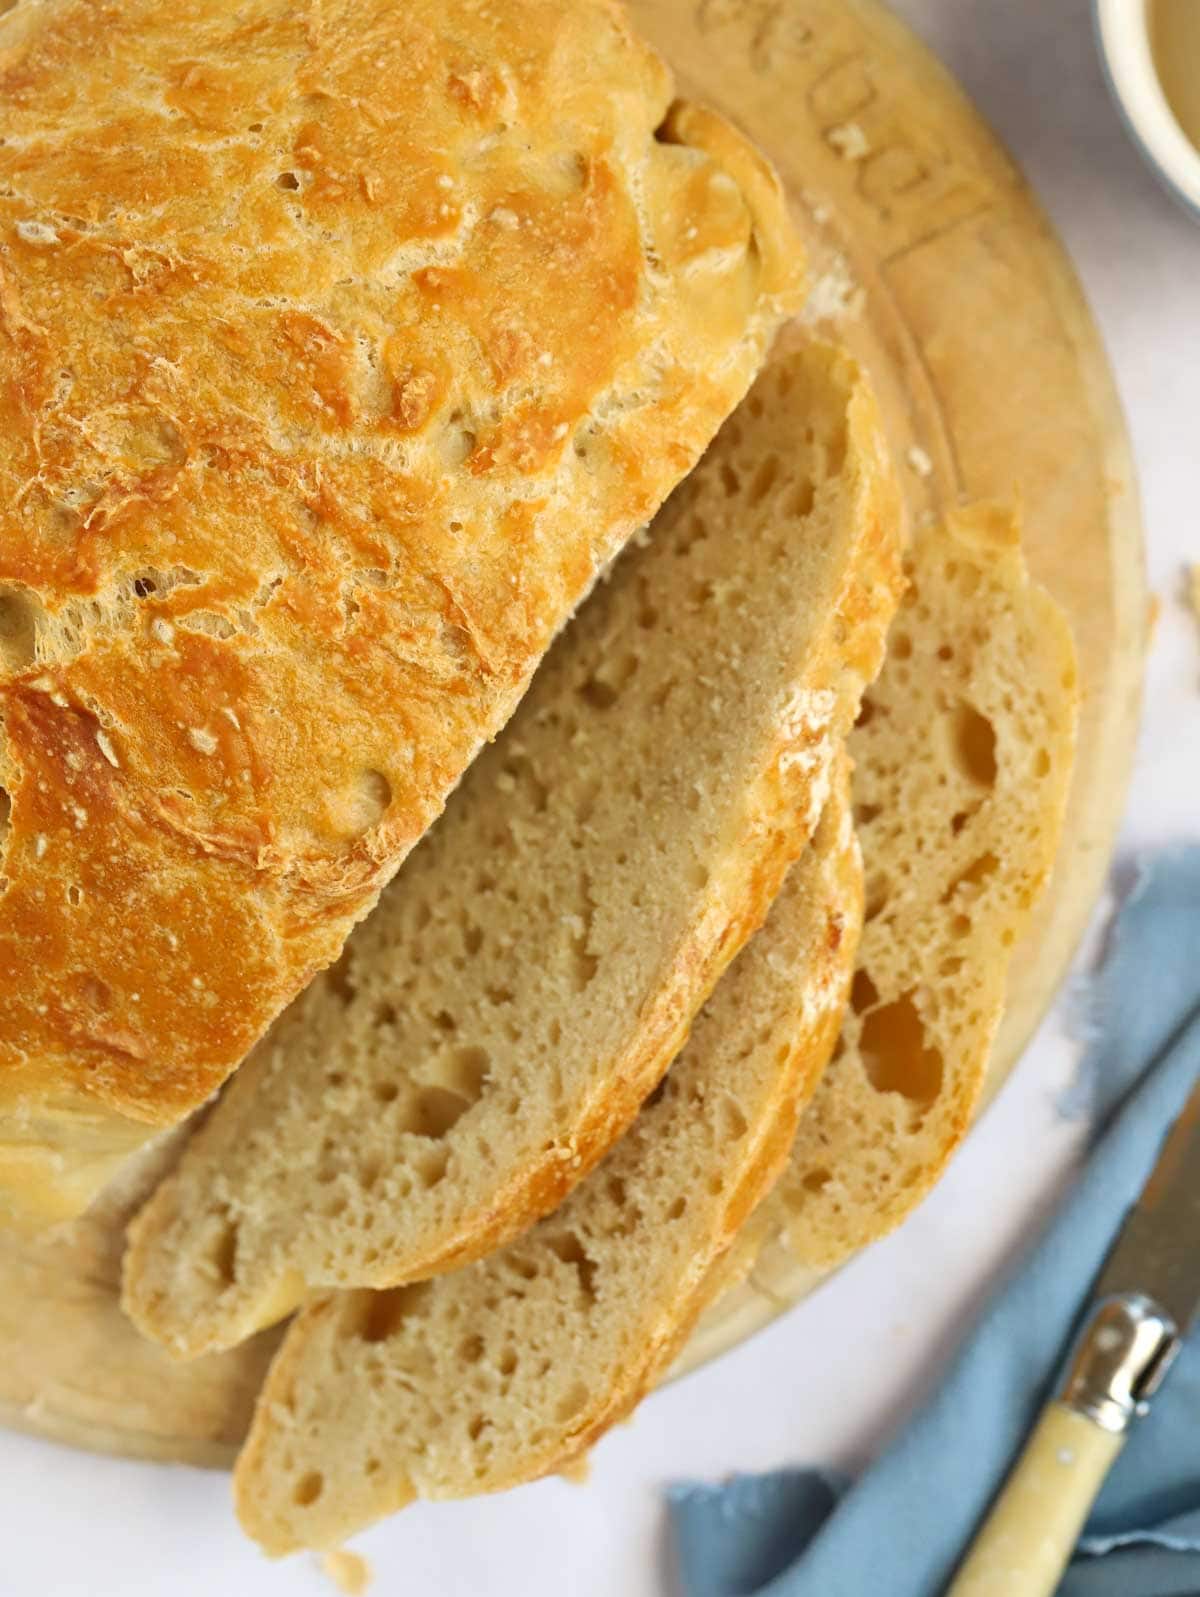
Sarah’s Notes
I first published this quick and easy bread recipe all the way back in 2014.
I used to make it when I had baby twins and no free time to bake, but needed comfort in the form of fresh bread!
It was originally based on this recipe from the New York Times but over the years I’d made my own tweaks to the ingredients and method to make it work for me.
I would very much recommend it as a form of bread based therapy should you be in need of comfort ❤️
What is No Knead Bread?
The recipe for no knead bread uses a particular (although easy!) method to avoid having to knead the bread dough.
Kneading is the process of pushing and pulling the dough for a period of time to work the gluten in the flour and make the dough a bread texture.
It can be time consuming and labour intensive. This recipe avoids it – hurray!
Ingredients You’ll Need
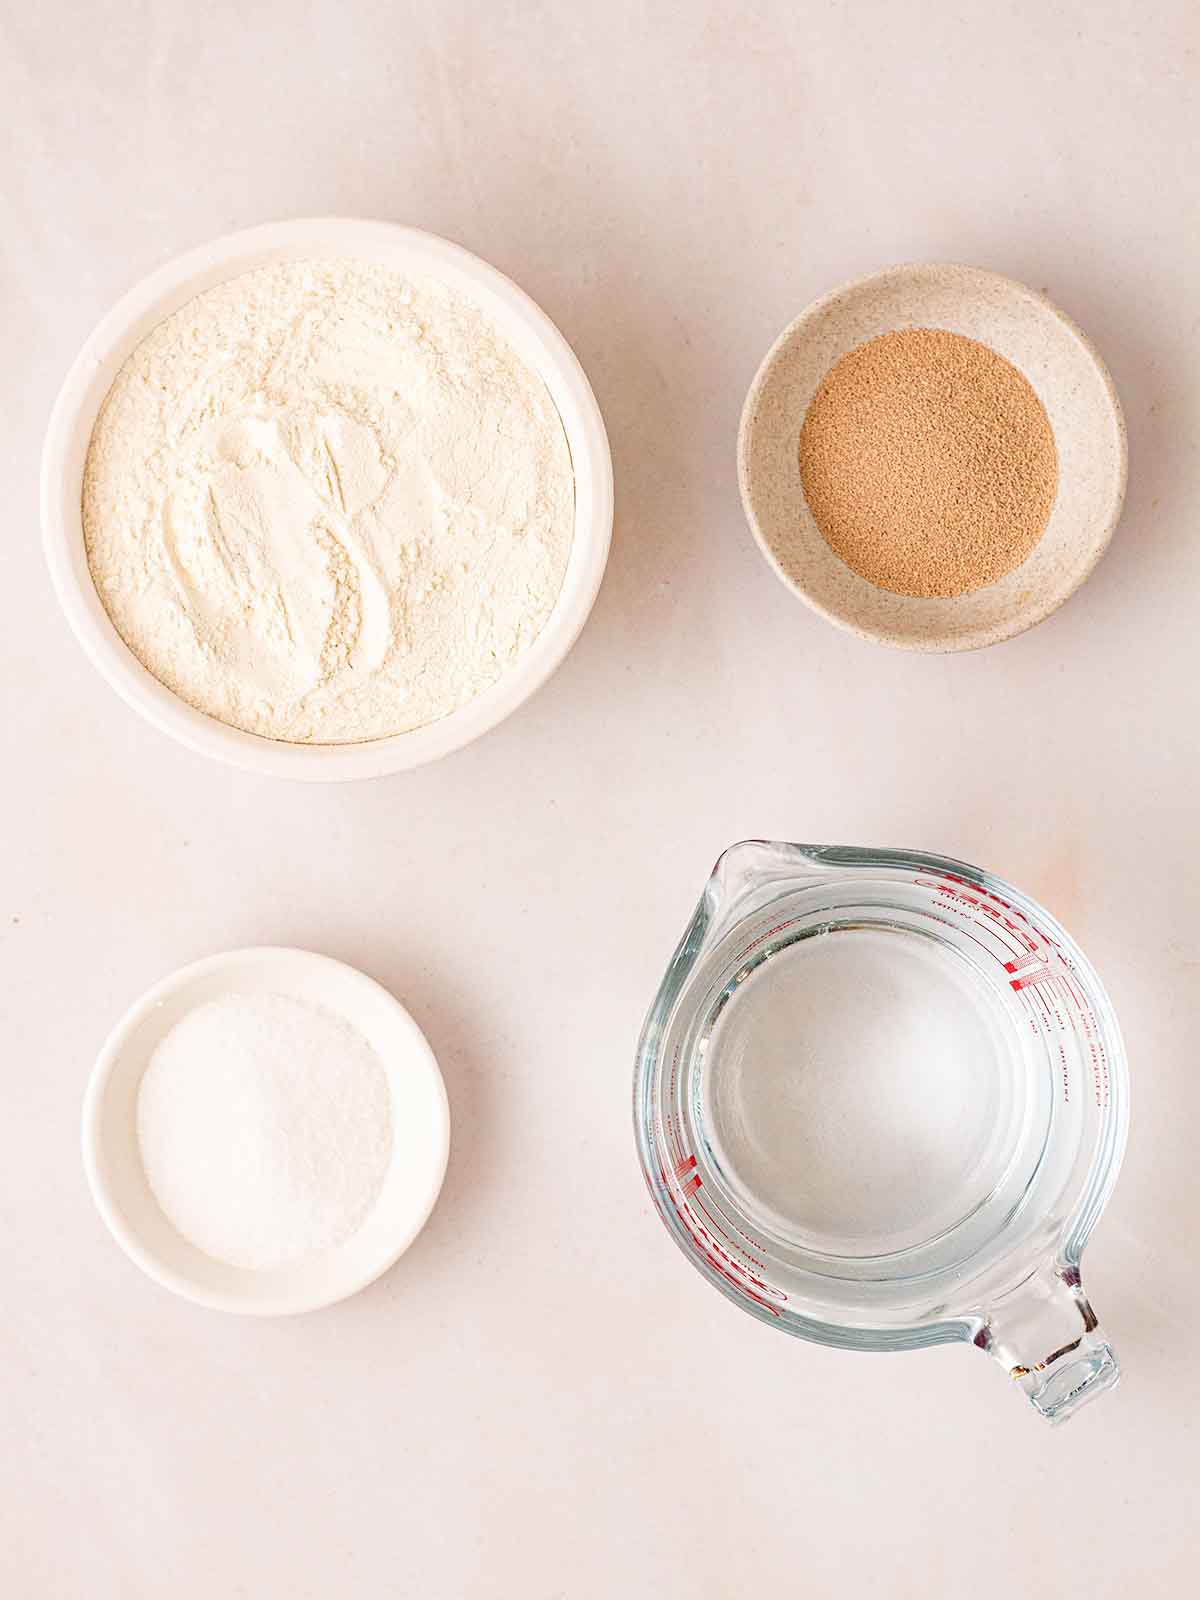
- Strong white bread flour – You’ll need this type rather than regular flour because it’s processed for making bread and will give you the best texture. You’ll need a little extra flour for sprinkling too.
- Fine sea salt – Salt is vital in making bread. Don’t be tempted to leave it out. It’s what gives the loaf flavour.
- Fast action yeast – It’s sometimes called ‘instant yeast’ or ‘quick rise yeast’. It’s usually sold in sachets.
- Warm water – This is what binds it all together and turns the mixture into a dough.
How to make No Knead Bread
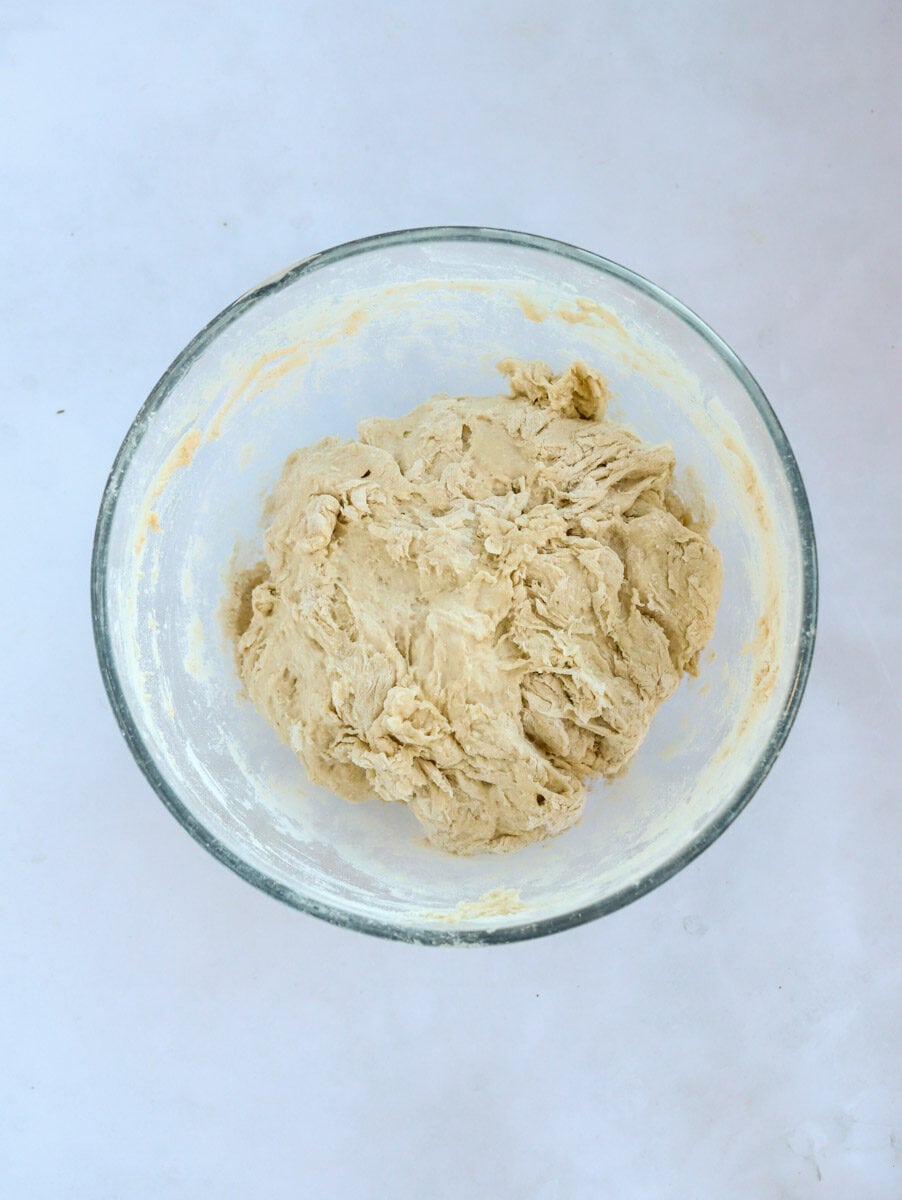
1. Mix the ingredients together well in a large bowl using a spatula or clean hands.
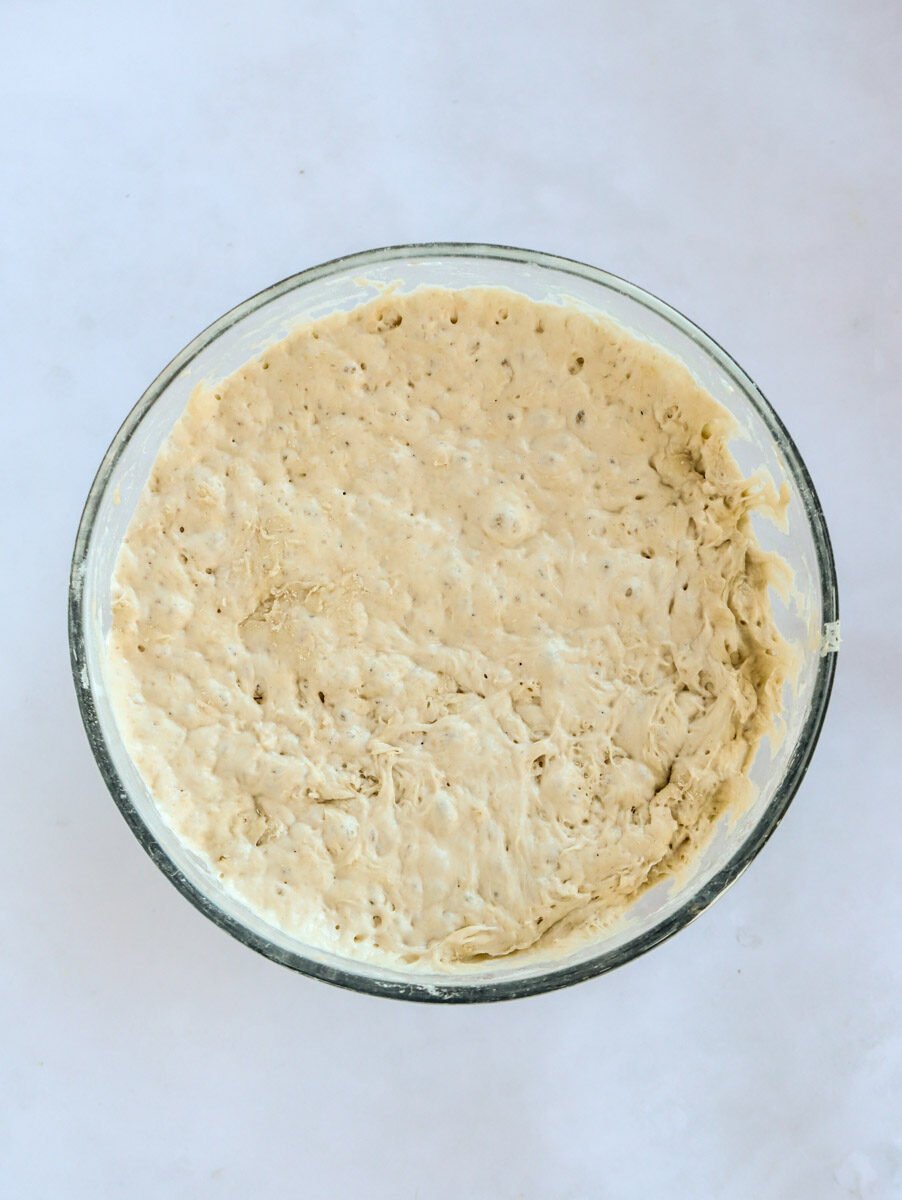
2. Cover with cling film and leave overnight (8-12 hours).
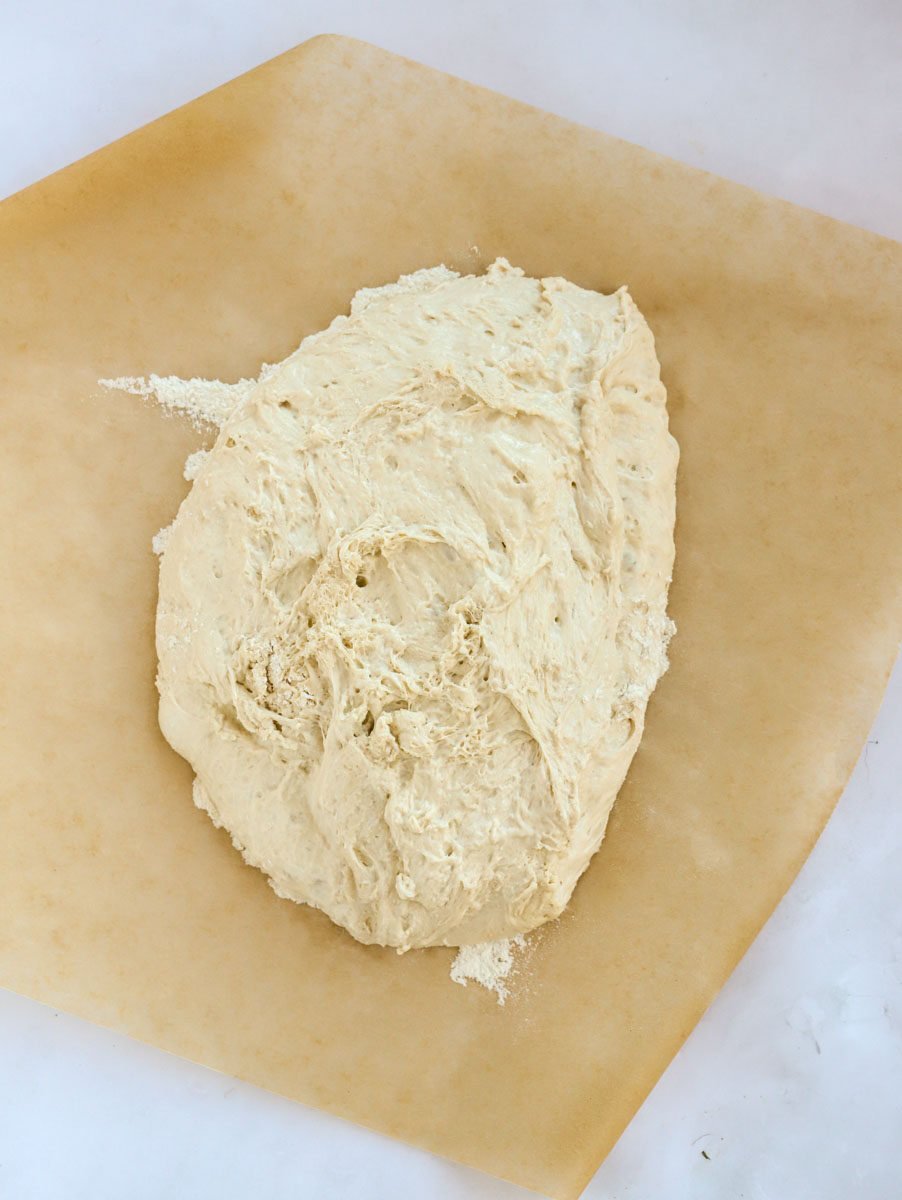
3. Preheat your oven dish in a very hot oven as per the recipe below. Meanwhile, sprinkle extra flour onto a piece of baking paper and tip your dough out.
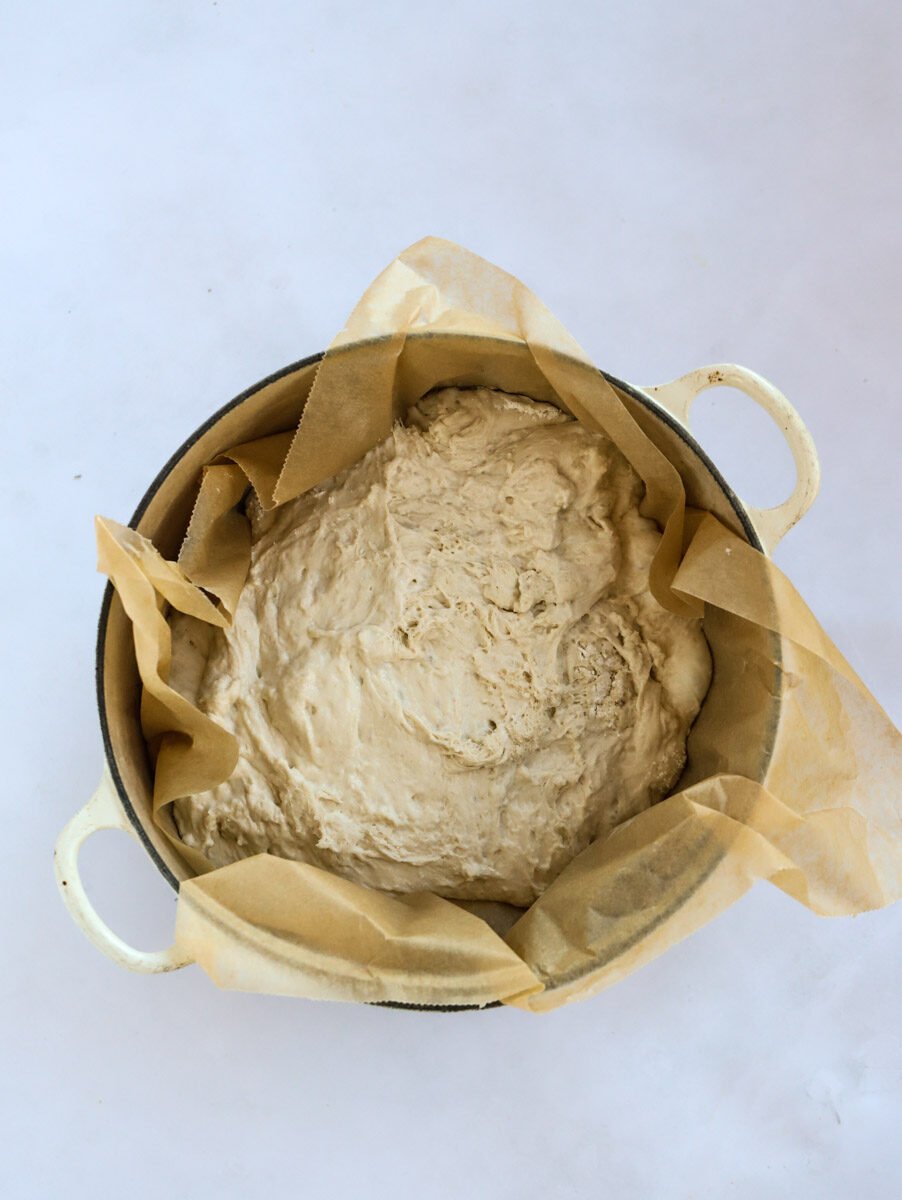
4. Carefully remove the pan from the oven and ease the dough and baking paper into it. Bake as per the recipe below.
Recipe Tip
How to stop the dough sticking to the bowl
This can be a little tricky when you’re trying to tip the dough out. You need to pull it away carefully from the edges of the bowl to release the ‘seal’.
I use a dough scraper like this one, which is good value and also super useful for lots of little kitchen jobs. You won’t know how you lived without once you start using them!
Try not to handle the dough too much
Touching the dough can make it stickier, so when you’re handling it into the pan, try not to handle it too much if possible.
How long will the bread keep for?
It’s best eaten on the day it’s baked, or the day after.
You can also use if for toast the day after that, or freeze it.
I like to slice it before freezing, this means that I can take a single slice at a time and even pop it straight into the toasted.
FAQs
Any saucepan that is large enough, has a tight fitting lid and also can be heated super hot will do fine.
I think results are maybe a tiny bit better with the heavy cast iron pan, but certainly don’t buy one especially.
Try using a smaller pan to help keep its shape.
The smaller the bottom of the round saucepan is the more domed the bread will be.
This can also happen if the bread is proved for too long (so left to rest before cooking for too long) don’t leave for any longer than 12 hours.
The loaf is ready when the bottom of the bread sounds hollow when you tap it.
It should be a deep golden colour for crusty bread, or you can remove it from the oven when it’s a light golden if you prefer less crust.
I have tested this with wholemeal flour and it was a little too dense for my taste.
We have tried it using 30% – 50% wholemeal bread flour in place of white bread flour and this was a good texture.
Enjoy this with…
Let me know how you got on and what you thought of these recipes. Please rate the recipe using the ⭐️ below.
Also I’d LOVE to see your cooking creations. If you’d like to share yours with me, you can tag me on Instagram (@tamingtwins).
No Knead Bread {Easiest Ever Overnight Recipe}
Ingredients
- 750 g (3.25 cups) Strong white bread flour
- 3 tsp Fine sea salt
- 7 g (2 tsp) Fast action yeast
- 500 ml (1.75 cups) Warm water
- Extra flour for sprinkling
Instructions
- Mix all of the ingredients (apart from the extra flour for sprinkling) well in a very large bowl. Use a spatula and/or clean hands to form a dough, making sure there's no dry flour left at the bottom of the bowl.
- Cover with clingfilm or baking paper and leave over night at room temperature (8-12 hours).
- In the morning, the dough should have doubled in size (maybe more) and look bubbly.
- Preheat your oven as hot as it will go (probably about 220°C) and pop your lidded dish into the oven. (A pan about 26cm or 28cm diameter works best.)
- Allow the dish to preheat for 30 minutes.
- Lay a baking paper sheet onto your worksurface and sprinkle with a little extra flour.
- When the pan is very hot, carefully remove from the oven and take the lid off.
- Carefully tip your dough out onto the baking paper (you may need to scrape the edges of the bowl to release it).
- Gently ease the bread on the baking paper sheet into the very hot tin. Be careful not to touch the pan! Try not to touch the dough too much as it will be very sticky.
- Bake for 30 minutes with the lid on, then remove the lid and bake for a further 30 minutes or until the bottom of the bread, when tipped out and tapped, sounds hollow.
Notes
Nutrition
Nutrition information is automatically calculated, so should only be used as an approximation.
This post was originally published on October 22, 2021 and updated later to make improvements.








Hi!
Can this be made with wholemeal flour instead of white?
Many thanks & love all your recipes! Thank you!
Where do I leave it for 12 hours? In a warm airing cupboard or just at normal kitchen temperature? I want to start it tonight!
I make a lot of different breads that take so much time and mess and the family say its good or yeah not bad. I made this last night and my husband said its the best bread I’ve ever made and “we’ll have that on Christmas Day” the kids love it too. Thank you!
Hello, I bought the Masterclass cast aluminium pans from Amazon based on your suggestions but the instructions state the pan is suitable for oven up to 200c. Would this bake still work at this lower temperature? Thank you!
Thank you for the recipe.
Can’t wait to try it.