This post may contain affiliate links.
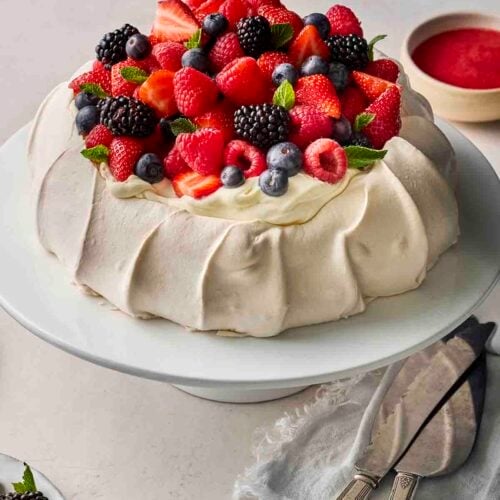
Making your own Pavlova is easier than you think! Follow the tips and tricks here to make this classic dessert perfectly, every time.
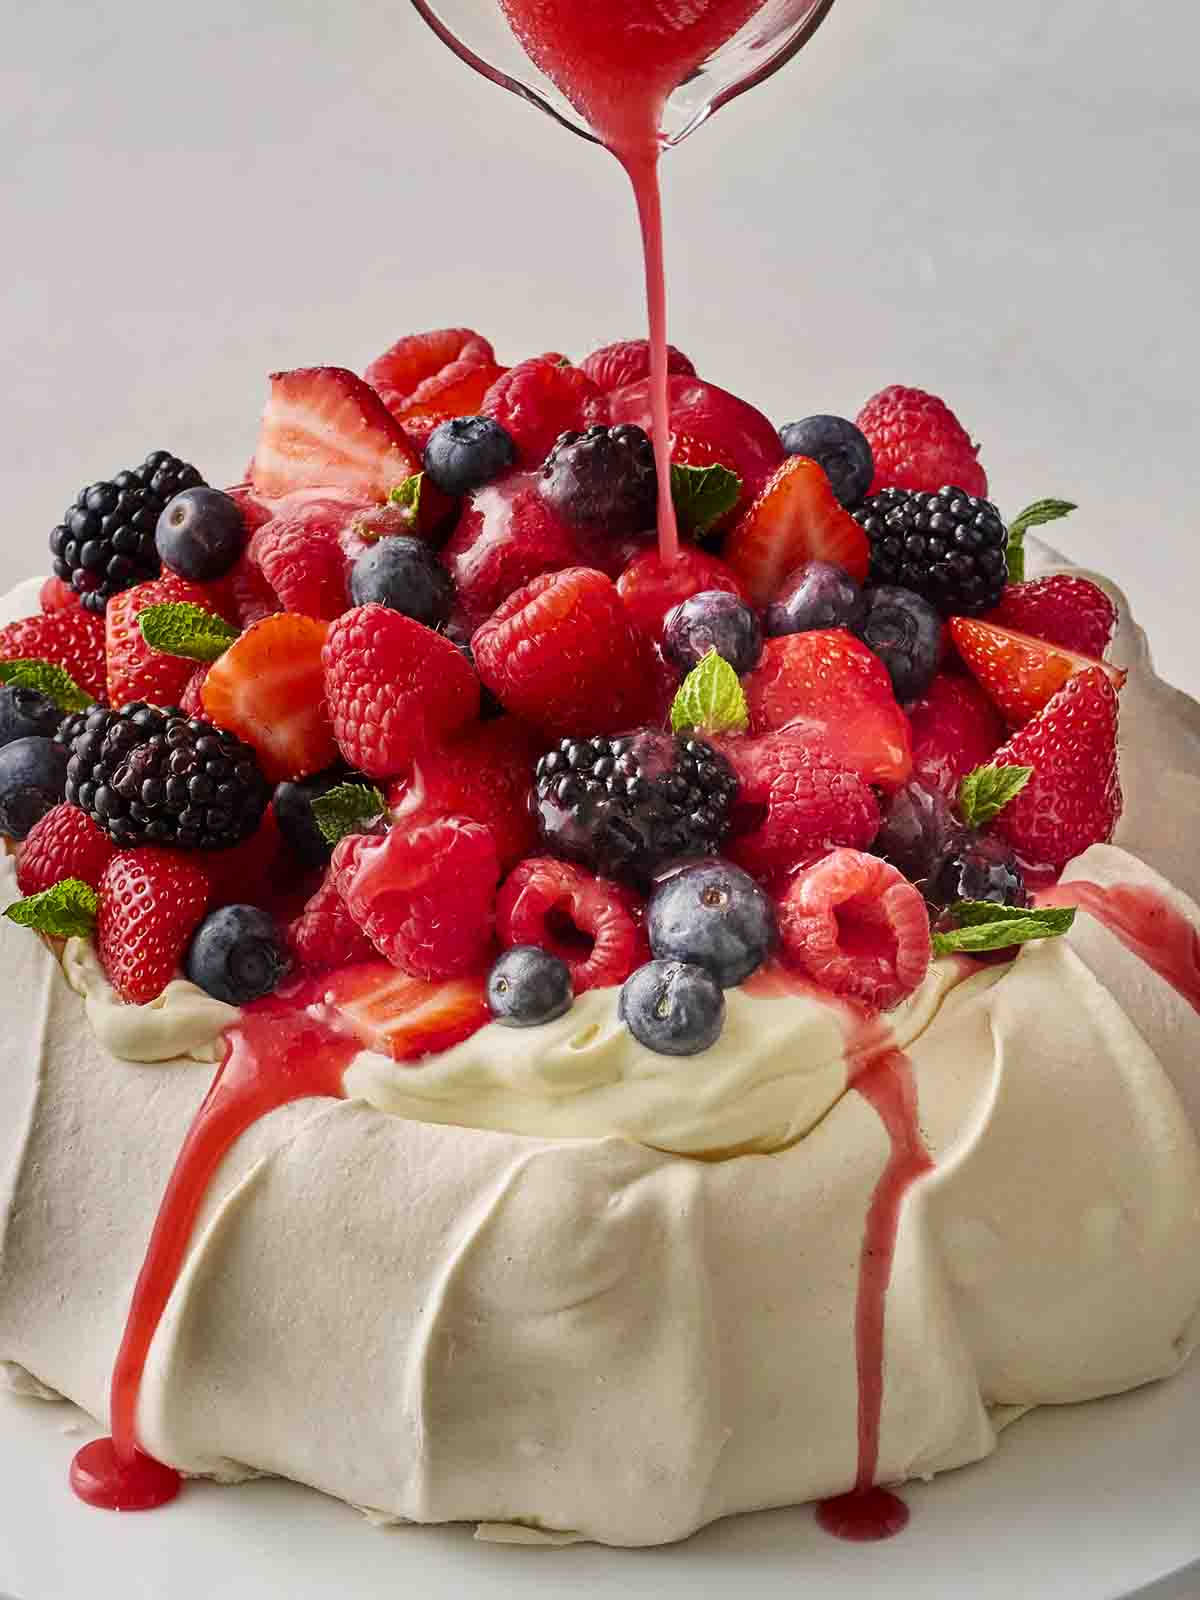
Is Pavlova the BEST summer dessert on the planet? It might just be.
I’m telling you, you cannot beat homemade meringue for this delicious, delicately crunchy and just-a-little gooey pudding. I urge you – try it before you buy it!
If you’re daunted by making your own Pavlova, I am here to tell you it’s super easy and straightforward when you know how.
There are just a few simple tips and tricks to getting it perfect, every time. Follow the recipe below and you’ll never look back!
Why is this the best Pavlova recipe?
⭐️ Base can be made ahead for convenience
⭐️ Creamy, crunchy, chewy – deliciously divine
⭐️ So EASY to follow
Sarah’s notes
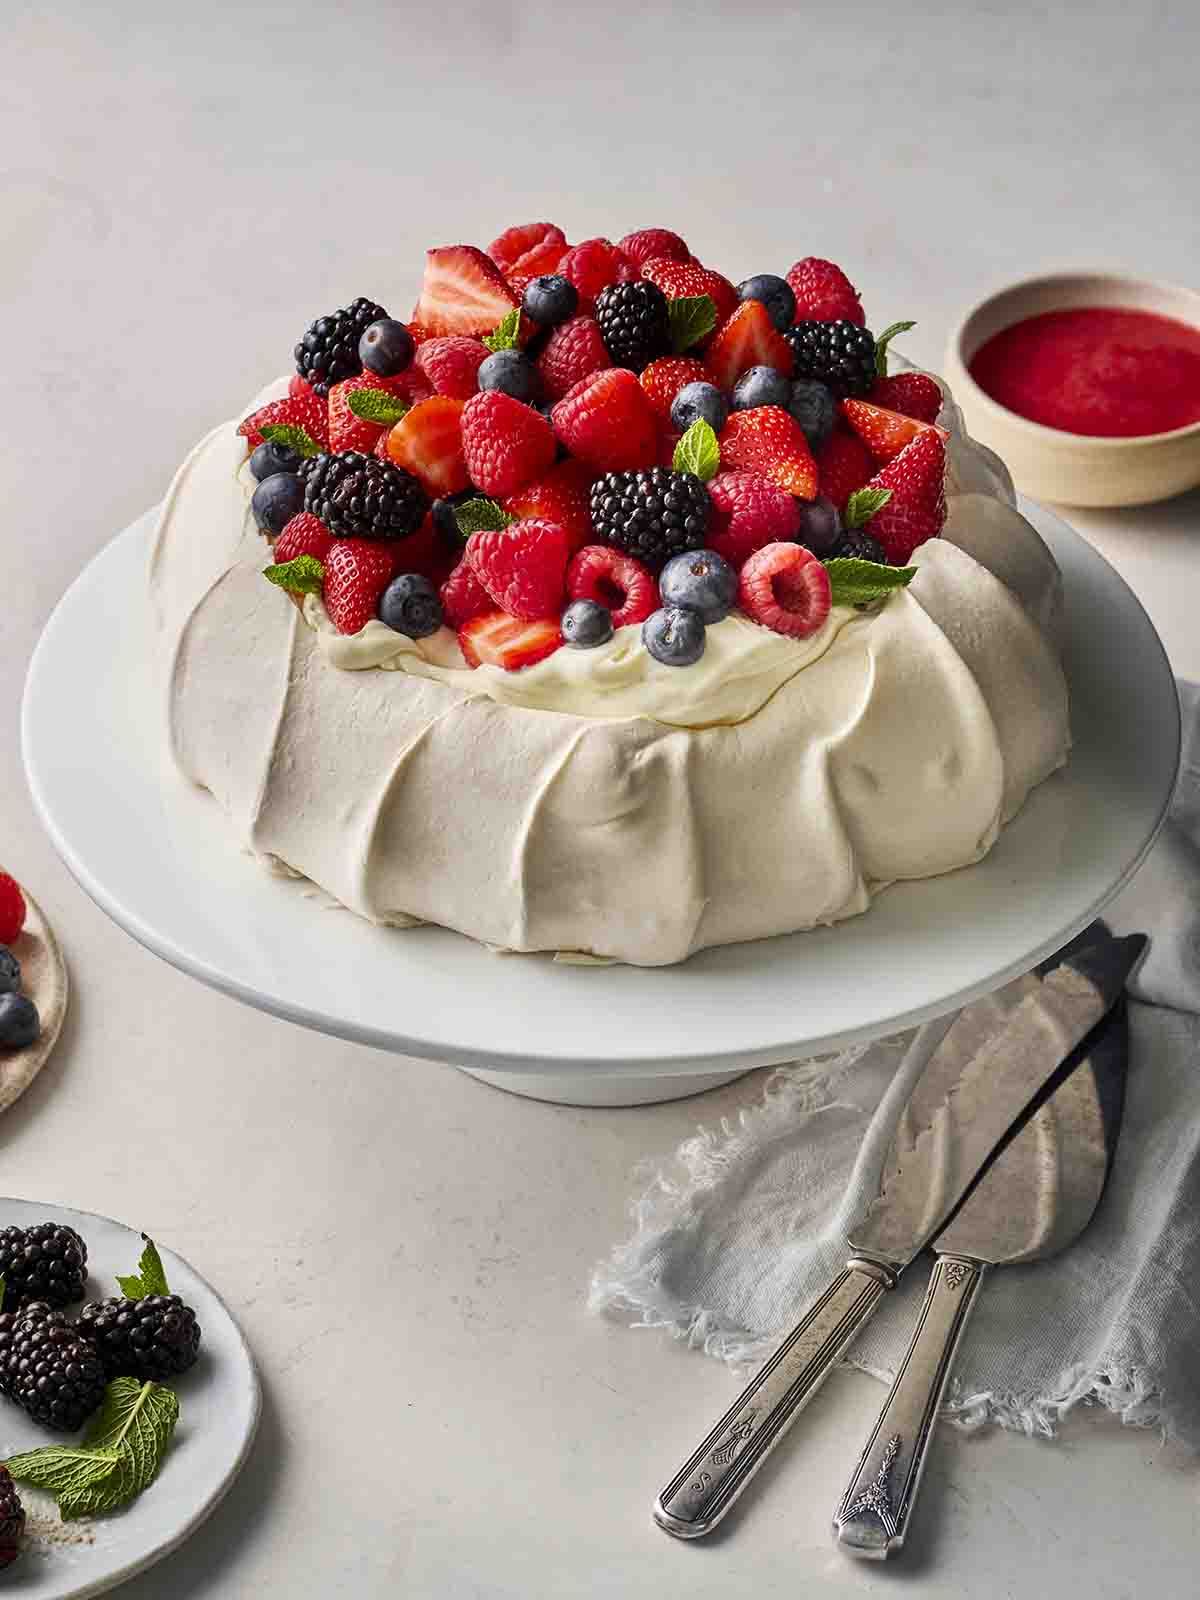
A Pavlova is a dessert that has a meringue base and is topped with cream and usually fruits, which is why it’s typically associated with summer (although you can make it seasonal if you like – try my Christmas Pavlova too)!
We make our meringue with just egg whites and caster sugar, which when whisked up and baked, gives us that delicate and delicious base.
Classic Pavlova Ingredients
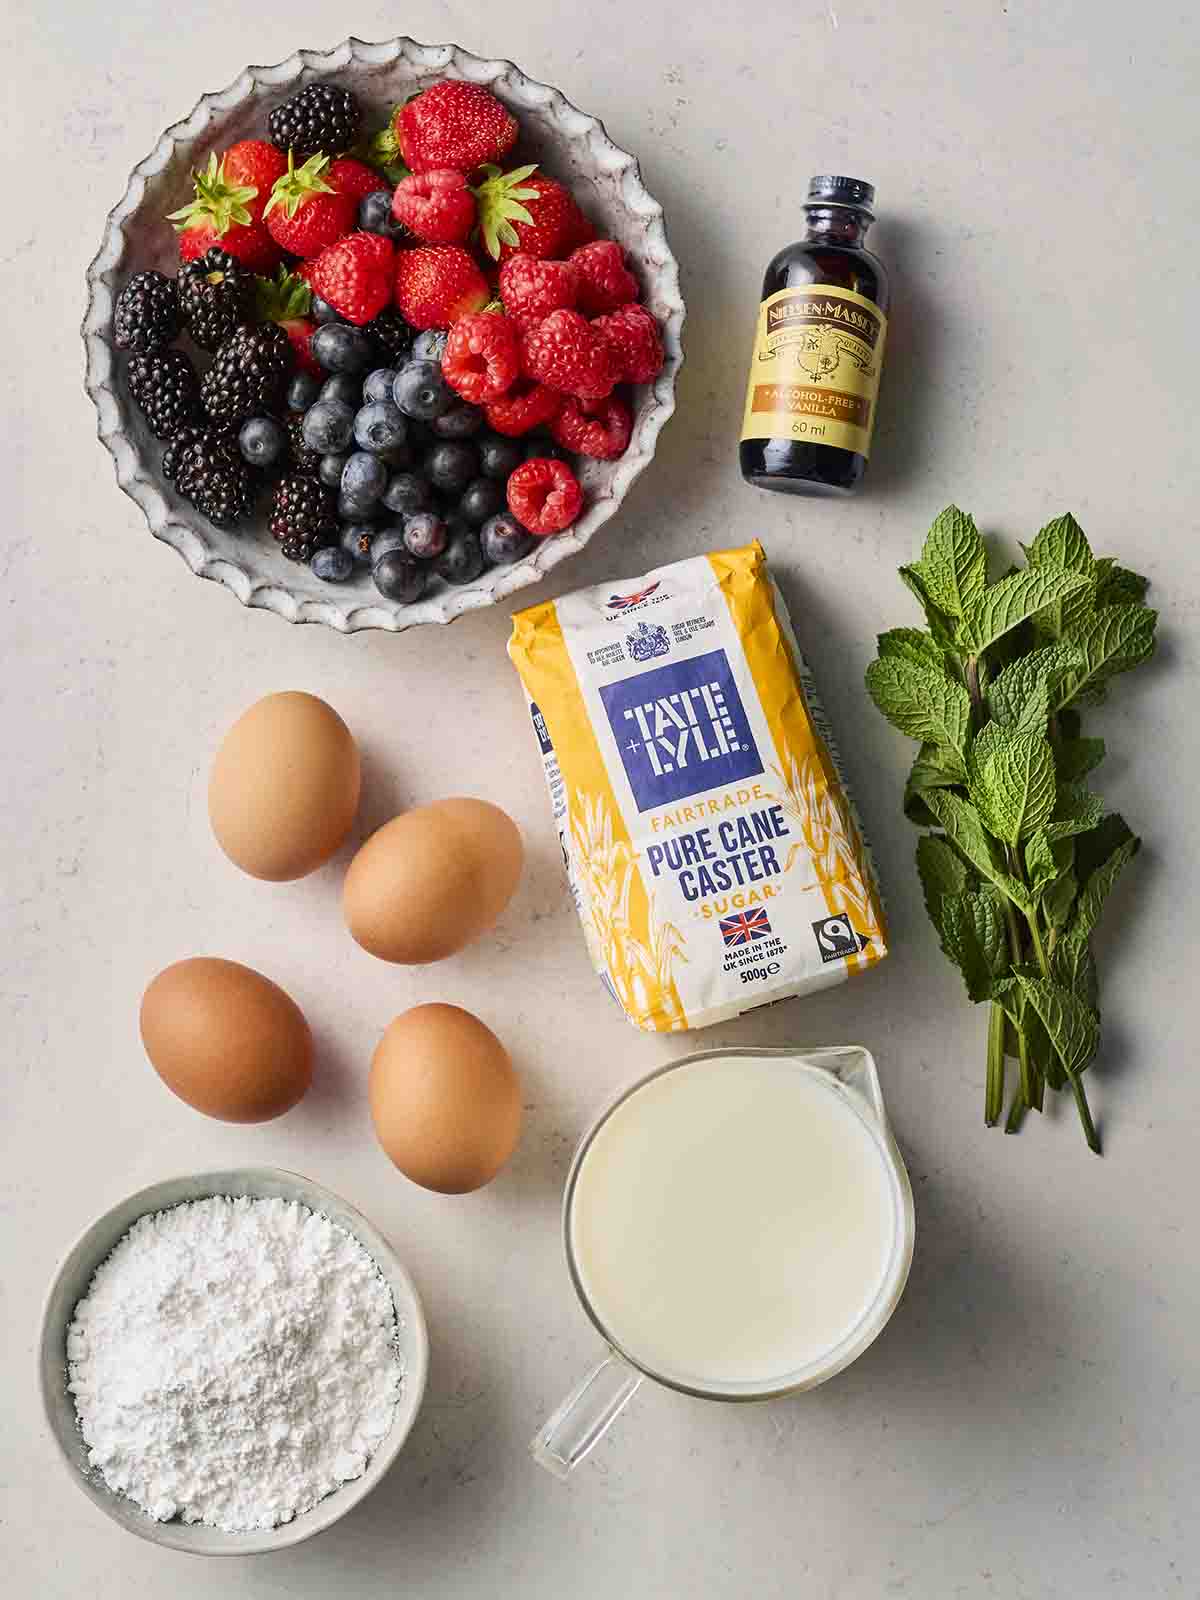
- Egg whites – We just need 4 of these for this recipe. Be careful when separating the eggs as a bit of leaked yolk could prevent them fluffing up properly.
- Caster sugar – Add a little at a time to the egg whites when mixing.
- For the topping – Double cream (heavy cream), vanilla extract, mixed fresh berries and fresh mint to garnish.
- For the sauce – Fresh raspberries and icing sugar.
How to make Pavlova
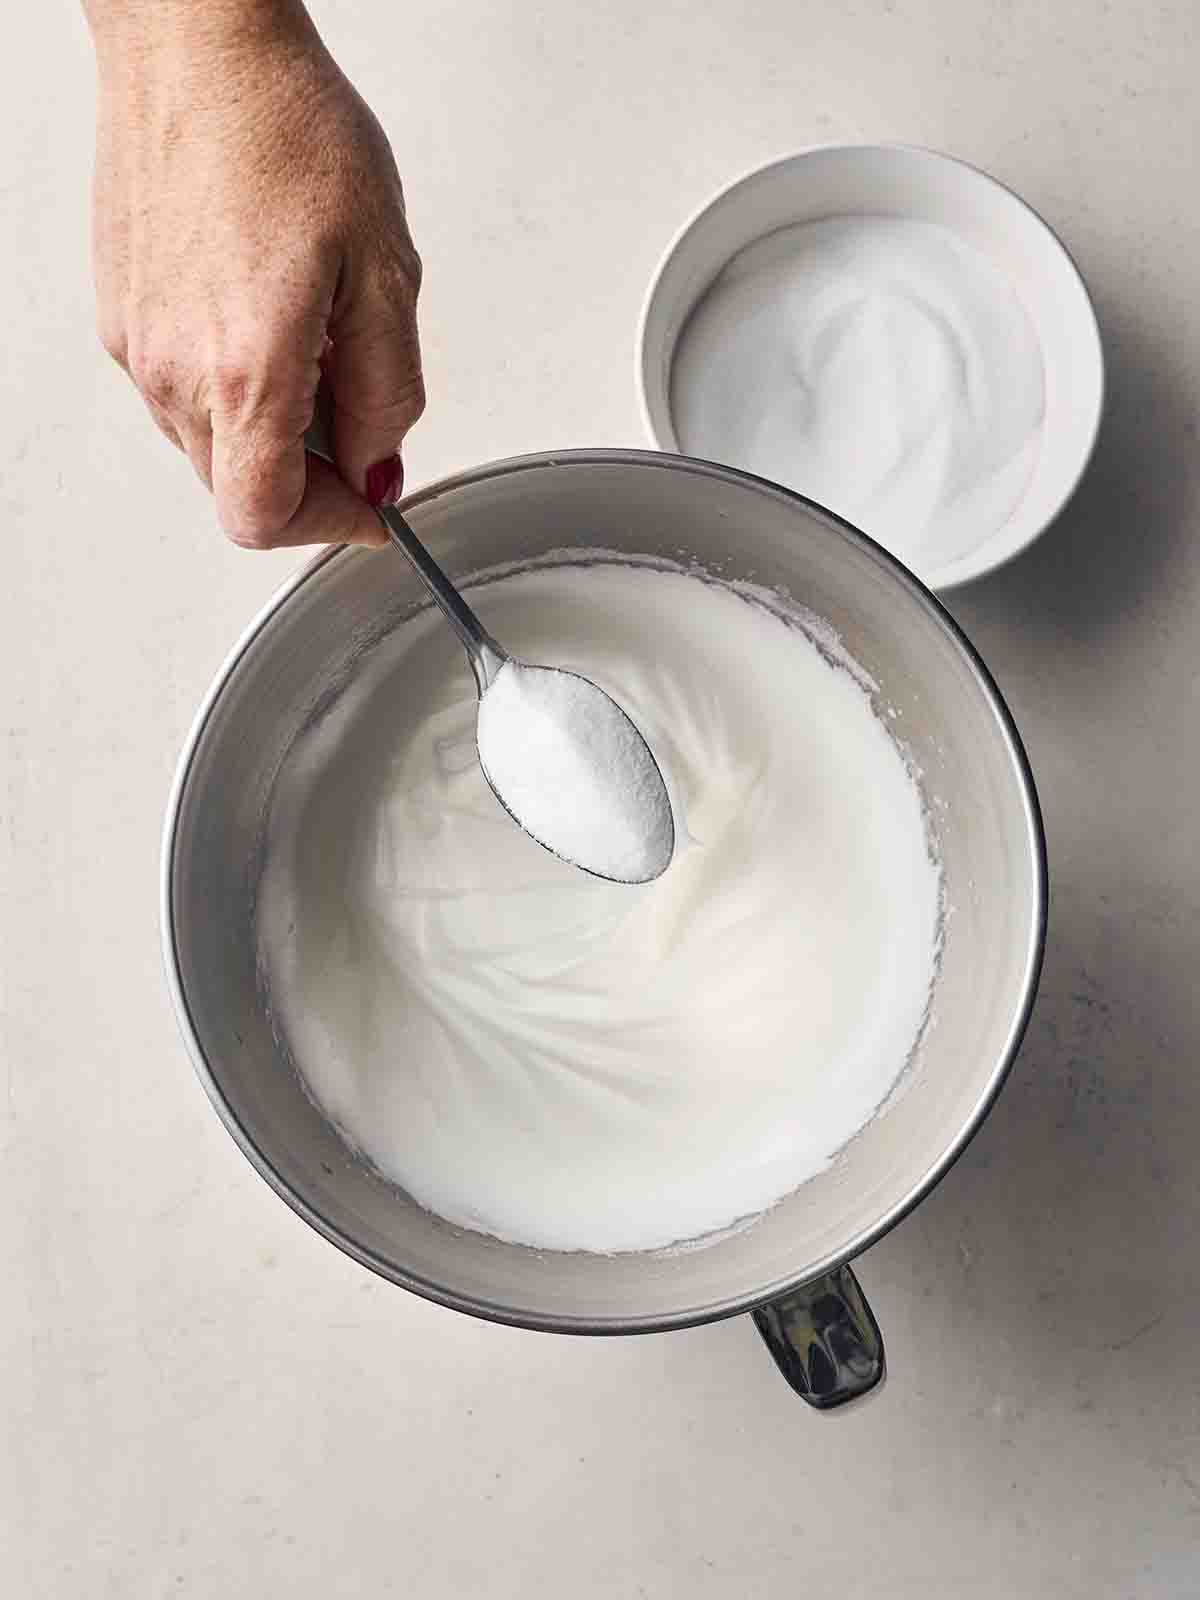
1. To make the meringue, whisk the egg whites in a very clean bowl until they form stiff peaks, gradually adding in the sugar a little at a time.
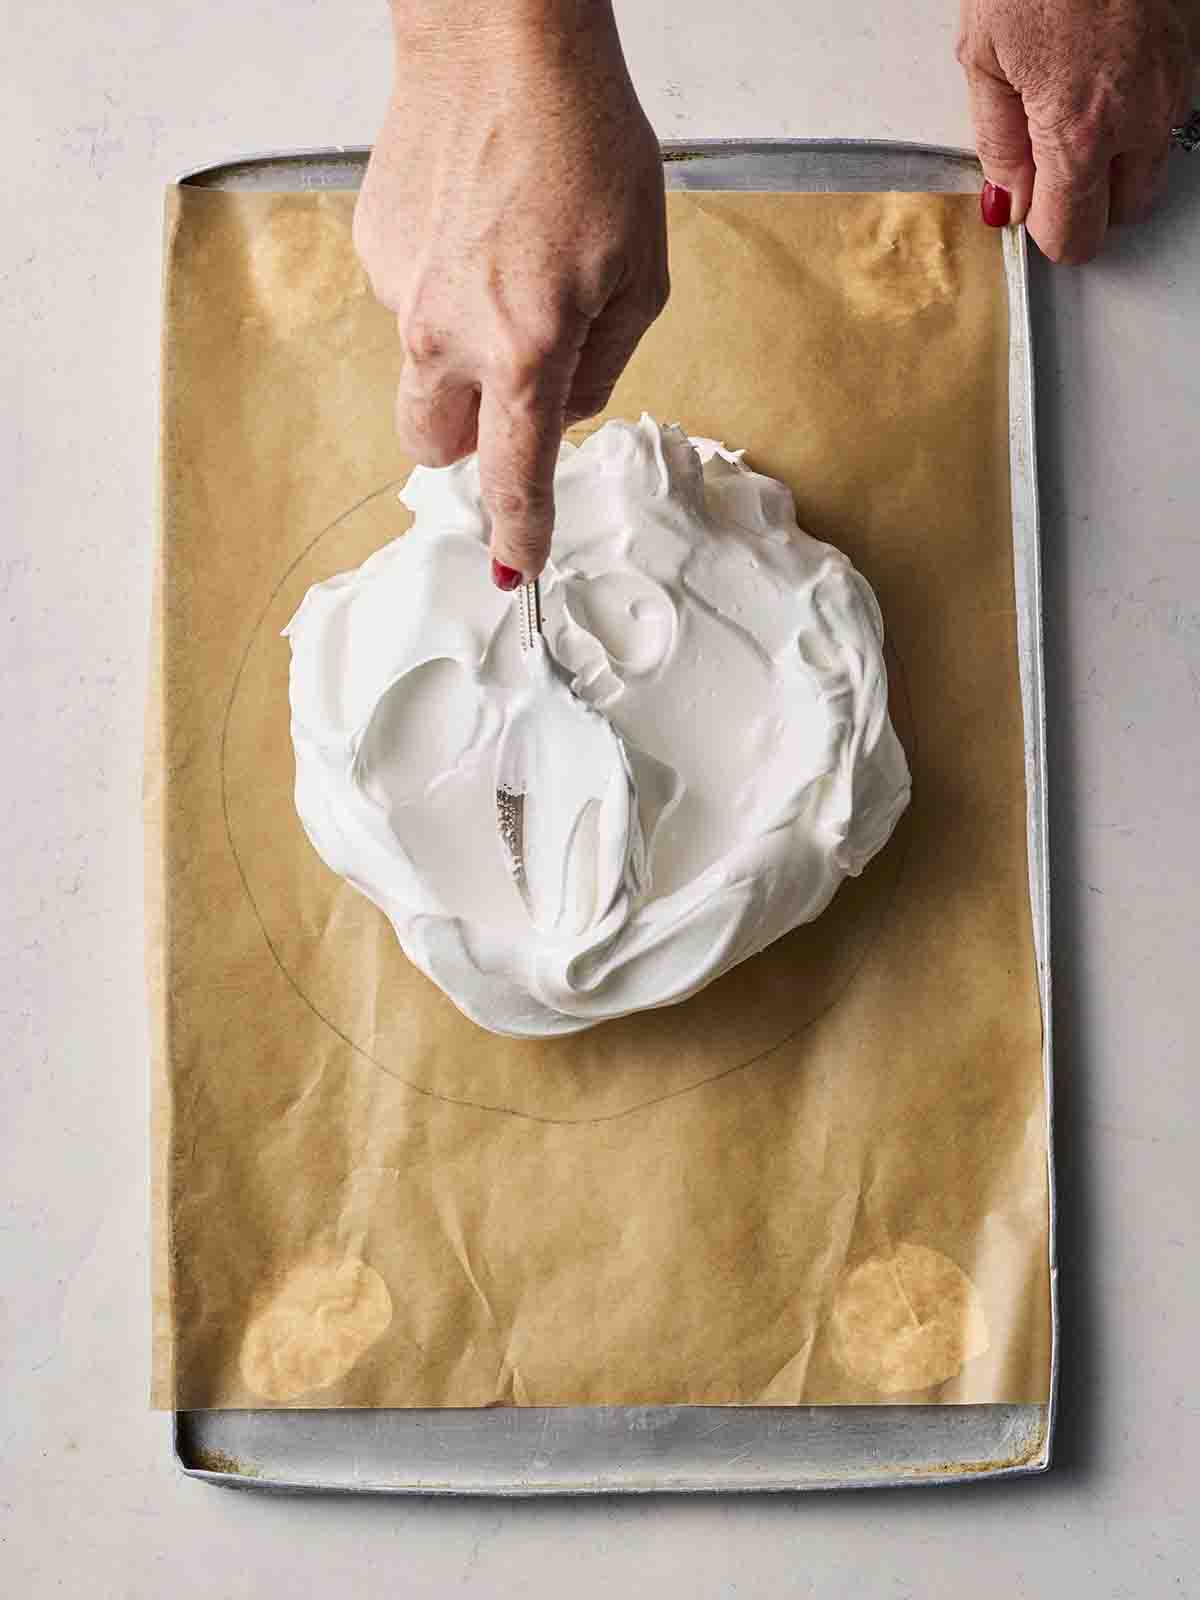
2. When ready, spoon the meringue mixture onto a drawn-out circle on a piece of baking paper on a baking tray, pushing it out to the edges of the circle.
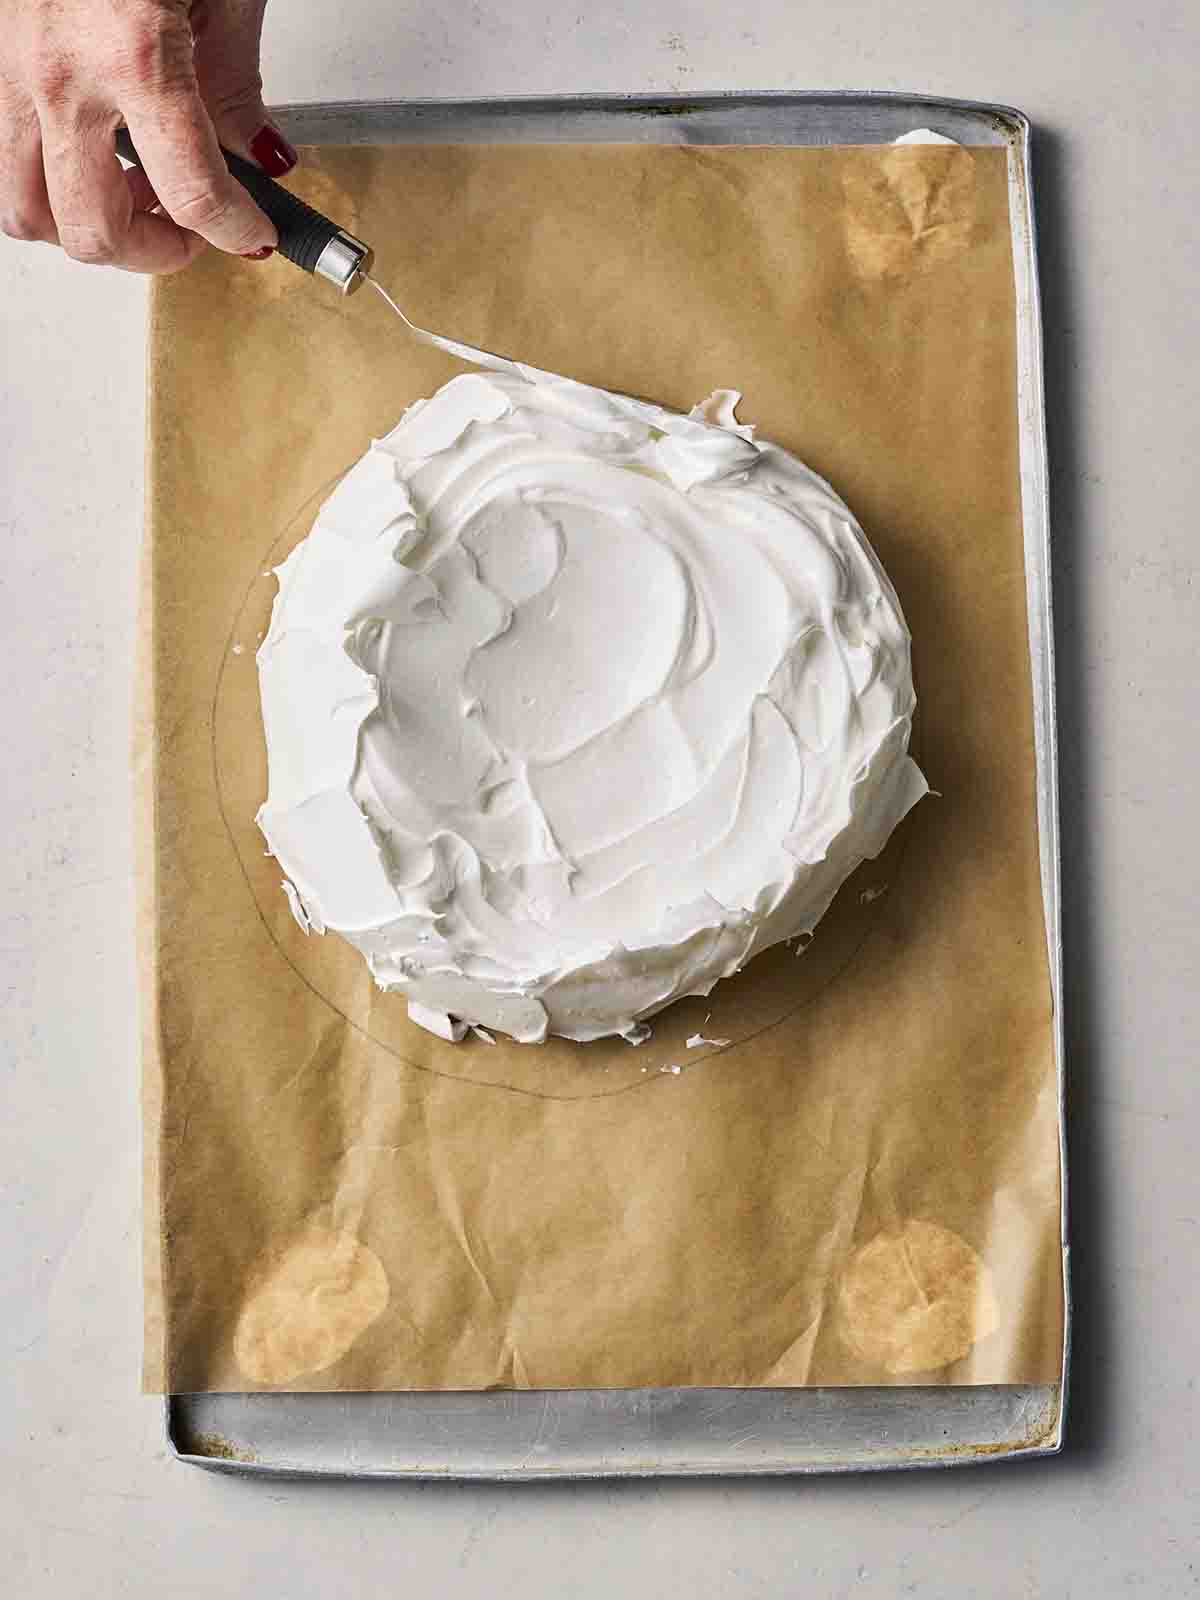
3. Use the back of your spoon or a palette knife to ‘pull’ the sides of the meringue up. Bake as per the recipe below.
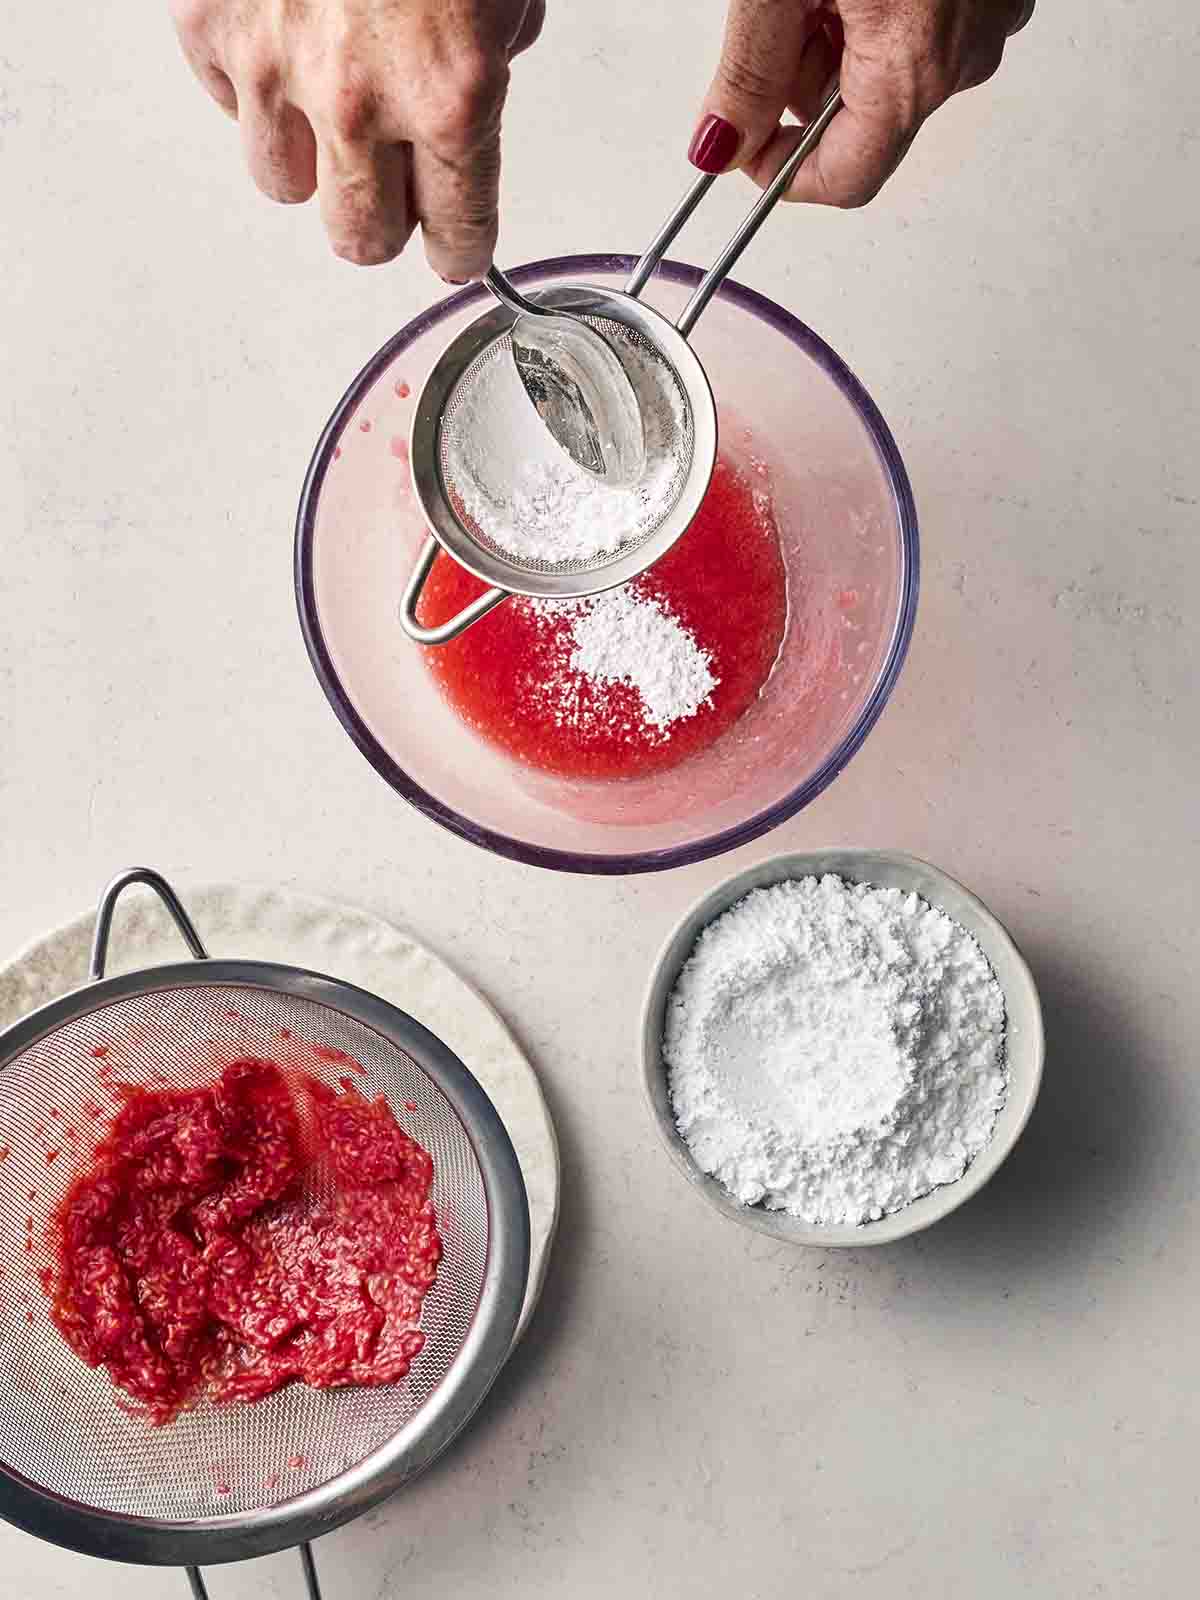
4. Meanwhile, make the sauce by mashing the raspberries through a sieve into a bowl and stirring in the icing sugar. Whisk the cream, add the vanilla extract, then decorate the meringue when fully cooled.
Top Tip
I always bake the meringue low and slow because it keeps the Pavlova a brighter white colour and helps avoid too much cracking. It also keeps the inside deliciously soft and marshmallow-like!
Don’t panic too much if your meringue cracks a little though. You are pilling it with cream and berries anyway and it will still be just as delicious!
Storing & Topping
The meringue base of your Pavlova needs to be baked as soon as you have finished whipping your egg whites, however you can store it after it has cooled in a dry airtight container (like a cake tin or plastic storage box) at room temperature for up to a week.
Keep it in a cool place until you’re ready to prepare the sauce and toppings, and finish it off just before serving.
Recipe Tips
Cream
The cream for the topping should be straight from the fridge as this will help it to whip up.
Always use a very clean bowl!
I REPEAT – you need a VERY clean bowl when whisking your egg whites up and make sure there are peaks before you start adding sugar!
Any grease or bits in your bowl will ruin the fluffy texture of your meringue.
Baking paper
It’s very important to use non-stick baking paper or baking parchment, NOT greaseproof paper, as it will stick to that once it’s baked.
More easy summer dessert recipes…
Recipes
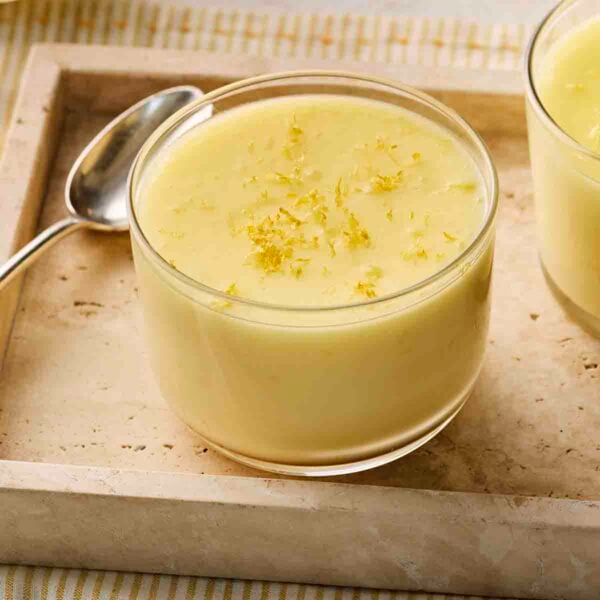
Lemon Posset
Sweet Things
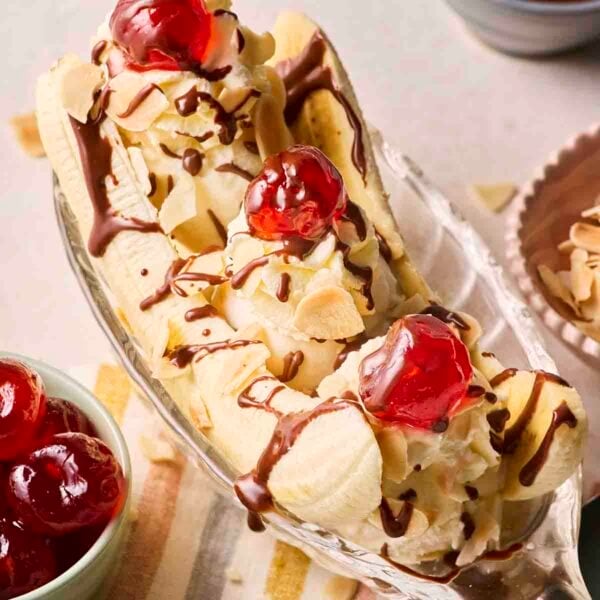
Banana Split
Cheesecakes
Strawberry Cheesecake {Easy No Bake Recipe}
Desserts
Banoffee Pie
FAQs
The cooked meringue of your pavlova can be frozen for up to a month.
A frozen meringue is very fragile so make sure it’s wrapped in baking parchment and placed into an airtight container or tin before it goes in the freezer. It will defrost in around 2-3 hours at room temperature. Once defrosted, fill with your cream and fruit filling.
Yes, Pavlova is gluten free. But, as always, check each product label carefully.
It is named after a Russian ballerina Anna Pavlova, who toured Australia and New Zealand in the 1920s and became a huge star there.
Both countries have laid claim to the dessert, which is still popular there, although the debate remains as to who invented it first! (Whoever it was, thank you down under!)
This article by the BBC delves further into the origins of the Pavlova.
Let me know how you got on and what you thought of these recipes. Please rate the recipe using the ⭐️ below.
Also I’d LOVE to see your cooking creations. If you’d like to share yours with me, you can tag me on Instagram (@tamingtwins).
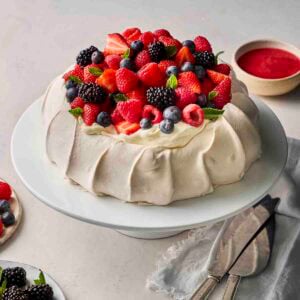
Pavlova {Foolproof Recipe!}
Ingredients
For the meringue:
- 4 Egg whites
- 250 g (1.25 cups) Caster sugar
For the topping:
- 300 ml (1.25 cups) Double cream, Or heavy cream
- 1/2 tsp Vanilla extract
- 400 g (14 oz) Mixed fresh berries, Strawberries, raspberries, blueberries etc
- Fresh mint to garnish
For sauce:
- 150 g (5 oz) Raspberries
- 2 tbsp Icing sugar
Instructions
- Preheat the oven to 110℃/230F fan, 160℃/320F or Gas Mark 3.
- Draw a 22cm circle on a sheet of baking paper then flip the paper over (so the egg mixture doesn't touch the pencil marks) and sit it on a baking tray.
- Now make the meringue. Whisk the egg whites in a very clean bowl with a handheld electric whisk (or stand mixer fitted with the whisk attachment) until they form stiff peaks, then gradually add the sugar, a little at a time, whisking well in between each addition.
- Use a tiny dot or two of the egg white mixture to 'glue' the paper to the baking tray, then spoon the rest of the meringue mix on to the template circle, pushing it out to the edges of the circle. Use the back of your spoon or a palette knife to ‘pull’ the sides of the meringue up.
- Bake in the oven for about 90 minutes until the meringue looks dry and crisp. Turn off the oven and leave the meringue to cool in the oven with the door slightly open. (Cooling it slowly helps to avoid it cracking).
- Meanwhile, make the sauce. Mash the raspberries and then squish them through a sieve into a bowl (discard the seeds left in the sieve). Stir in the icing sugar.
- For the topping, whisk the double cream in a bowl with the vanilla extract if using.
- When ready to serve, top the meringue carefully with the vanilla cream, fresh fruit, raspberry sauce and a few mint leaves.
Did you make this recipe? Click here to let us know how it went and give it a ⭐️ rating! Your feedback helps us to make more recipes you really want.
Notes
Nutrition
Nutrition information is automatically calculated, so should only be used as an approximation. Nutritional values are per portion unless otherwise stated.
This recipe was originally published on 2nd November 2018. It was updated on 27th August 2025 to improve the method and ingredients for readers.
This post was originally published on August 27, 2025 and updated later to make improvements.



Excellent and very easy to make thamkyou
Came together perfectly very quickly
I made individual meringues
I am keeping an eye on them
I m cooking them at 150° (no fan)
Not sure on the time
Thanks for the no fuss recipe
💕💕. Love it
I think the temp might be incorrect on here. It’s showing 110 and it’s 140 fan on your other meringue x
My first pavlova and it worked perfectly! Thank you Sarah!