
This post may contain affiliate links.
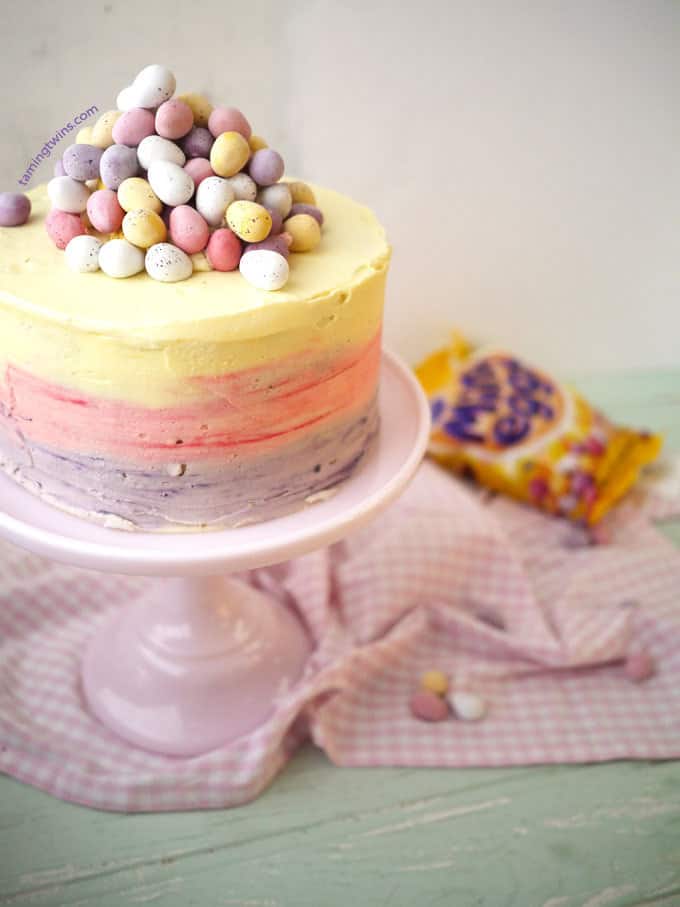
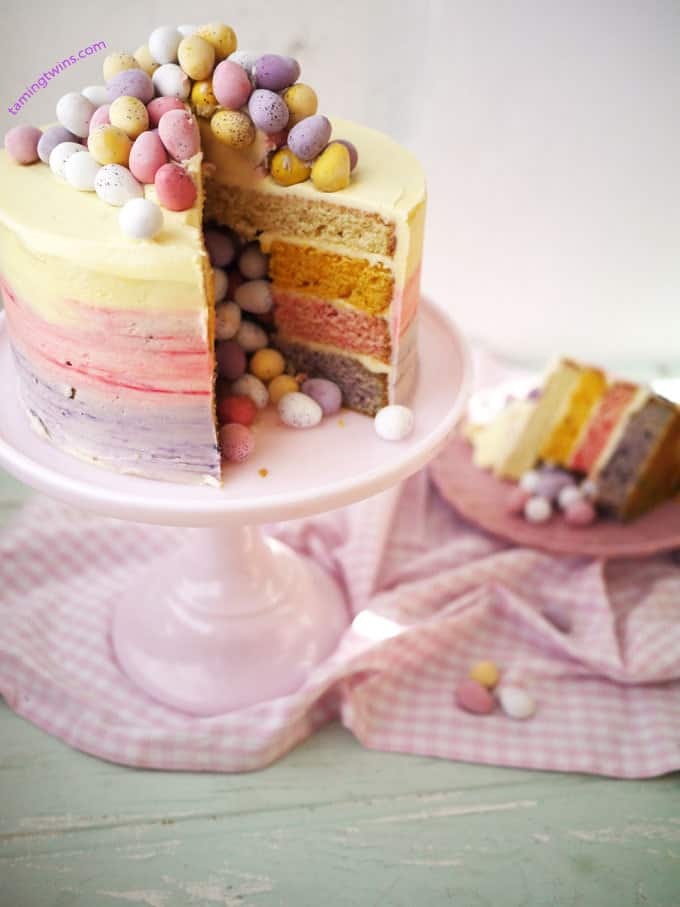
Spring is one of my favourite times of year. Looking out into the garden and seeing bright, cold blue skies and long ago planted bulbs bravely peeking out from the earth is such a happy sight isn’t it? Now, I know this cake is super indulgent but really, don’t the colours just say spring you? Those pastel shades seem so fitting for this season to me.
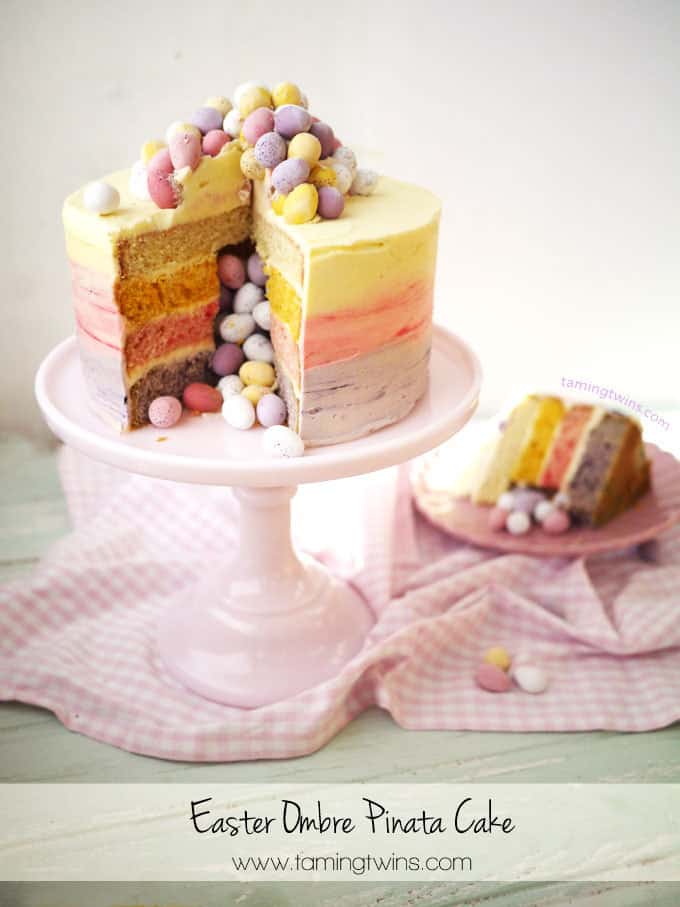
But you know me and my love of giant cakes.. Of course I took it too far and coloured it all and made a giant ombré pinata kind of thing. But it’s almost the law to eat a bag of two of Mini Eggs at this time of year – right?
Also, the recipe for Cadbury’s Mini Eggs has not changed. Unlike the controversy surrounding Creme Eggs, these little beauts remain the same as always. A perfect pop of sugary spring colour. The cake would make the perfect show-stopper for an Easter celebration. It’s a whopper but it’s surprisingly simple.
Tips for the Mini Egg Easter Ombré Pinata Cake:
- Try and ice and fill the cake the day you plan to serve it. Not essential but the mini eggs inside will get a little soft if left any later.
- Always use paste/gel colours to colour the cake and the icing (I’ll add links below to my favourite ones).
- When adding the colours to the cake batters and icings, do so a tiny bit at a time and add more if you need to until you get the colour you’re looking for.
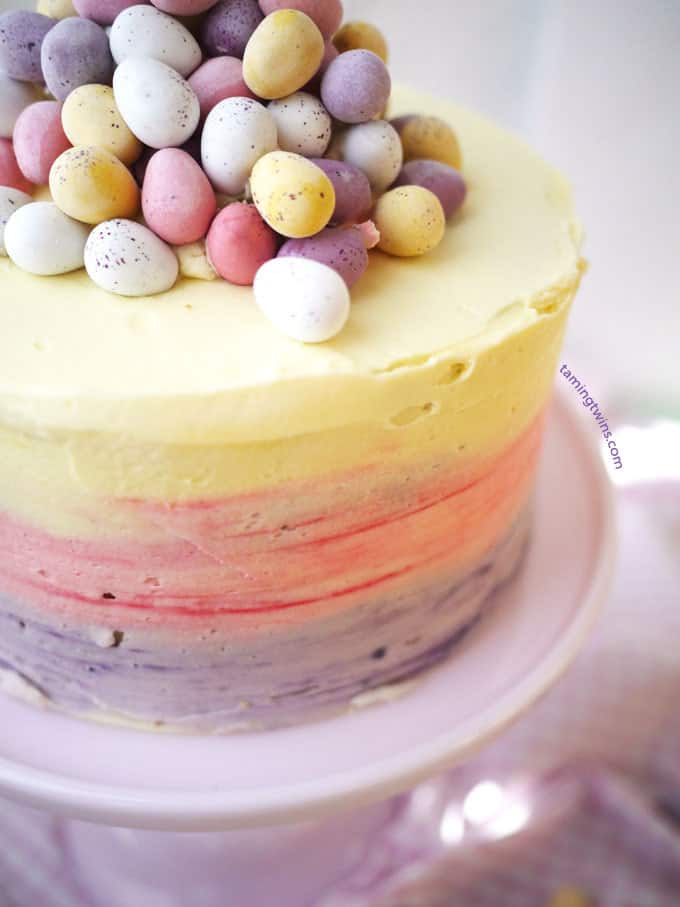
- I like to not quite fully mix the colours in to give a ‘speckled’ effect to both the sponge and the icing.
- It is easier to ice using a turntable, but if you don’t have one don’t worry. Just put the cake on greaseproof paper on a flat surface and use the paper to help you turn the cake. If you put the cake on a plate, it’s very hard to smooth the sides as the lip of the plate gets in the way.
- I used a cranked palette knife and a side scraper for this decoration. These are really quite cheap (about £5 for the pair) and a great investment as they make a huge different to decorating layer cakes. (There are links below to my favourites).
- Don’t forget to watch the video showing you how to do the ombré icing effect.
- You’ll notice in the video that I’ve trimmed both the top and bottom of the two ‘inner’ cake layers. This means that when you slice through the cake, you don’t get a brown ‘crust’ in view.
- Always trim the cake tops to make them flat. Never try to stack a domed cake, it’s asking for trouble!
https://youtu.be/lF9a7W8xVxM?list=UUT5IyfE7r6FAhCx1Q1D9Xbg
Easter Ombré Pinata Cake
Ingredients
- 500 g Unsalted butter
- 500 g Caster sugar
- 8 Medium, free range, eggs
- 500 g Self-raising flour
- 2 tsp Vanilla extract
For the icing:
- 500 g Unsalted butter
- 750 g Icing sugar
- 2 tsp Vanilla extract
- Sugarflair Gel/Paste Food Colour- Egg Yellow, Ruby and Grape Violet (see notes below)
- 328 g Bag of Mini Eggs
Instructions
- Preheat oven to 180C.
- Cream the butter and sugar until light and fluffy.
- Beat in the eggs until well combined (don't worry if it looks a bit odd, it'll be fine in a moment).
- Gently stir in the flour and vanilla. If you're using a mixer, do this slowly or by hand.
- Split the mixture into 4 bowls (about 500g in each).
- Leave one plain and colour the others with a tiny tiny bit each of Egg Yellow, Ruby and Grape Violet until they are each a pastel shade.
- Prepare 4 (or 2 at a time if you only have 2) 7" tins. Oil them and line the bottom with baking parchment.
- Spoon each of the mixtures into a tin and bake for about 25 minutes or until just cooked and a skewer comes out clean.
- If you've only baked 2 of the sponges, wash them out, prepare them again and bake the remaining 2 lots of batter.
- When the cakes come out of the oven, leave to cool in the tin for 5 minutes and then turn out onto a wire rack.
- Meanwhile, make the icing. Beat the butter until very light, pale and fluffy (about 5 minutes in a mixer or 10 by hand).
- Beat in the icing sugar until total combined and fluffy. Stir in the vanilla.
- If the icing is a little stiff, add a few drops at a time of boiling water and beat in until fluffy and 'floppy'.
- Now to colour the icing, spoon out 2 lots, each of 200g of icing into separate bowls. Colour these Egg Yellow, Ruby (pink) and Grape Violet (lilac) using a tip, end of a knife tip, of gel colour.
- Now watch my instruction video! (Below.)
- Level the cakes and then use the remaining, uncoloured icing to sandwich the cakes. Cut out the centre core. Fill with Mini Eggs.
- Use the coloured icing to cover the cake with an ombre, graduated colour effect.
- Dollop any remaining icing on top to 'glue' a small mountain of Mini Eggs on.
- Enjoy!
Nutrition
Nutrition information is automatically calculated, so should only be used as an approximation.
If you’re looking for more cake inspiration, how about a stunning Hazelnut Easter Cake, an Ombré Ruffle Cake, another colourful layer cake, an amazing Rainbow Bundt or a chocolate Pinata Cake?
What says spring to you? Creme Eggs, daffodils or giant cakes?
Sarah x
This post contains affiliate links.
Let’s be friends..
Keep in touch on Facebook ¦
Chit chat on Twitter ¦
Never miss a trick on Bloglovin’ ¦
Circle with me on Google+ ¦
Pinning like my life depends on it Pinterest ¦


STUNNING!! So amazing! I’ve pinned and shared everywhere. Thank you so much for all the hints and tips – so useful. And I am SO with you on the law about eating mini eggs thing! Eb x
Just wanted to tell you I made this for a baby shower the other day and filled it with jelly babies, it was bloomin brilliant! I was really chuffed with how it turned out! Thank you!
This is just heavenly Sarah- I would love to make one of these for Sasha’s birthday next Month, so beautiful! x
Your cake looks super cute Sarah and i love the ombre colours.
There is no way I would ever be able to make anything like this. YOU ARE A GENIUS and I bow down to your baking skills.
Another AMAZING CAKE!!! You’re such a clever sausage. It looks so nice and has such a fancy name! x
Wow, this looks amazing. If only my baking skills were up to it. Plus I can decorate for toffee (sob) xx
Oh my goodness!! Cake that looks so pretty AND I bet tastes amazing! Please be my best friend! I need this cake in my life. It is beautiful, and looks like a piece of art. Jess x
Just gorgeous lady, yum! x
Wow this looks amazing! It’s too pretty to eat!
Becca xx
xbeccabe.blogspot.co.uk