
This post may contain affiliate links.

Approach making a homemade Apple Pie as two elements – the inside and the outside. Making the fruity filling first and allowing it to cool before assembling gives us a perfect winter warming dessert: light, crispy pastry that’s neither soggy or soft, just the right consistency of apples that are neither too mushy nor crunchy, and a delicate balance of spices. Follow the tips and tricks and step-by-step videos in this recipe to get it just right.

You don’t have to spend hours baking the kitchen to get a really delicious traditional Apple Pie.
It is absolutely fine to use shop-bought pastry to make this classic dessert when it’s time for all the comfort food we can get.
This way, it only takes about an hour or so to make in total, which is achievable on a quiet(ish) day. (This doesn’t include the cooling time of the filling.)
However, if you’re up for making this totally from scratch, use my Shortcrust Pastry recipe instead, but make sure you DOUBLE IT. I will make a little too much but you can keep any leftovers in the fridge for 3 days or wrap and freeze it.
If you have made and frozen the pastry ahead of time, just make sure the crust is thawed completely before using it for your pie and don’t blind bake it beforehand, or it might be overdone.
So why is it best to make your Apple Pie in two stages: filling/baking? Cooling the apple mixture before the pie is assembled ensures the butter in the pastry doesn’t begin to melt before it’s reached the oven, which leads to sogginess.
Another tip is to use a slotted spoon to separate your fruit and any excess liquid once the mixture has cooled, so just the right amount of filling is going into your pie. (Different apples produce different amounts of juice.)
You can also soak up any excess juice that the apples might release when in the oven by adding a thin layer of cornflour to the base of your pie, which also helps to keep the base crispy and avoid soggy bottoms! (Although if the underneath does end up a little soft, it’s not the end of the world as the top will still be golden and crunchy.)
Serve it up with custard, ice cream, double cream (heavy cream) or crème fraiche for the ultimate winter warmer pudding!
Why you’ll love this Easy Apple Pie recipe
⭐️ Easy recipe with BIG results
⭐️ Tastes (and smells) totally divine!
⭐️ Can be made ahead of time

The best kind of apples for Apple Pie
I LOVE the colder months for apple season! There’s nothing more comforting than those warming spices along with the tart, sweet apples that scream cosy comfort food to me.
I always make my Apple Cake and Apple Crumble, but sometimes an old-fashioned, traditional Apple Pie is just what’s called for.
Our filling uses a mix of Bramley and Braeburn apples (AKA cooking apples), so you get that lovely soft, sharp apple filling alongside chunks of sweeter apple that still hold their shape.
Using only Bramleys would mean your pie filling would be very soft so we’ve added the Braeburns to give a bit more structure as well as a delicious sweetness.
We tested this with different apple varieties and more spices but we found this combination makes the perfect filling: just the right apple flavour with just a hint of cinnamon makes this the ideal autumnal dessert.
These are typical British apples for making an Apple Pie with, so if you’re outside the UK and would rather use Granny Smiths, Golden Delicious or Honeycrisp, you can still use this recipe.
Apple Pie Ingredients

- Apples – A combination of Bramleys and Braeburns. These will need peeling, coring and slicing.
- Light brown sugar – This offsets the tartness of the apples nicely and gives a little caramel kind of flavour.
- Flavour – A teaspoon of cinnamon and one of vanilla extract, plus the juice of half a lemon.
- Cornflour (corn starch) – Use this for thickening the filling and on the pastry, which blots the juices nicely.
- Shortcrust pastry – Buy this ready-made from the supermarket, or make your own with this Shortcrust Pastry recipe here.
- Beaten egg – For egg washing the pastry to make it nice and golden.
- Demerara sugar – For sprinkling over the top of the pie before baking for extra flavour and crunch.
How to make Apple Pie
1. Add all of the filling ingredients to a large saucepan and cook gently, stirring occasionally, until the apples have just softened, as per the full recipe below. Leave to cool.
2. Gently line a pie dish with two-thirds of the pastry. Sprinkle cornflour over and smooth out.
3. Spoon in the cooled apple filling.
4. Roll out the remaining pastry over the top. Trim and crimp the edges of the base and top. Cut steam holes, gently brush beaten egg over and sprinkle the sugar. Bake according to the full recipe below until golden brown.
Making Ahead & Storing
If you want to get ahead and save time, you could prepare the pie filling up to 24 hours before you plan to bake. Keep covered in the fridge before using.
For freezing, assemble the pie and wrap it well in cling film and freeze it unbaked. You can bake it straight from frozen, it will just need an extra 15-20 minutes to bake (but keep an eye on it so it doesn’t get too dark.)
If you have leftovers, your cooked pie will keep in the fridge for up to 3 days. It’s best to reheat it in the oven or airfryer to keep the top crispy when you want to enjoy it again.
Top tips
If you’re making shortcrust pastry from scratch
Using ready-made Shortcrust Pastry is totally fine to do but if you want to go the whole hog, use my Shortcrust Pastry recipe instead, but make sure you DOUBLE IT.
I will make a little too much but you can keep any leftovers in the fridge for 3 days or wrap and freeze it.
If you have made and frozen the pastry ahead of time, just make sure the crust is thawed completely before using it for your pie and don’t blind bake it beforehand, or it might be overdone.
Remove excess liquid from the filling
Use a slotted spoon to separate your fruit and any excess liquid once the mixture has cooled, so just the right amount of filling is going into your pie. This avoids the pastry going soggy.
Use cornflour (corn starch) on the pastry base
You can also soak up any excess juice that the apples might release when in the oven by adding a thin layer of cornflour to the base of your pie, which also helps to keep the base crispy and avoid soggy bottoms!
If the underneath does end up a little soft however, it’s not the end of the world as the top will still be golden and crunchy.
Best apples to use
Our filling uses a mix of Bramley and Braeburn apples (AKA cooking apples), so you get that lovely soft, sharp apple filling alongside chunks of sweeter apple that still hold their shape.
Using only Bramleys would mean your pie filling would be very soft so we’ve added the Braeburns to give a bit more structure as well as a delicious sweetness.
Type of dish
This recipe has been tested with a 23cm round pie dish, so try and use one of this size to get the right proportions, and a lovely deep pie!
More Classic dessert recipes…
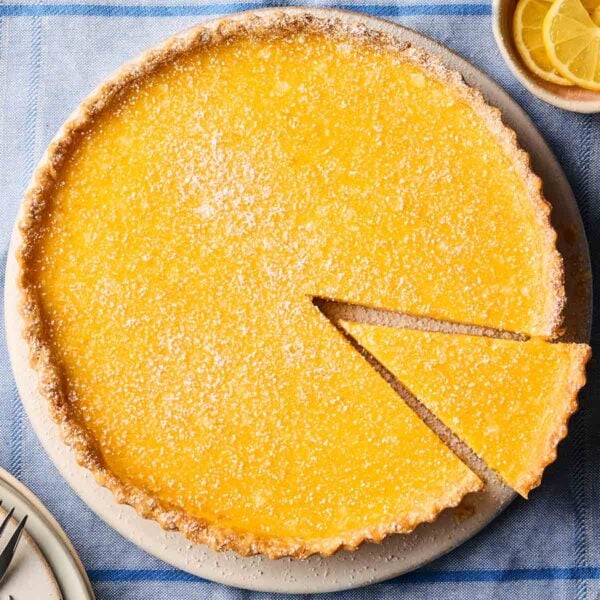
Desserts
Classic Lemon Tart
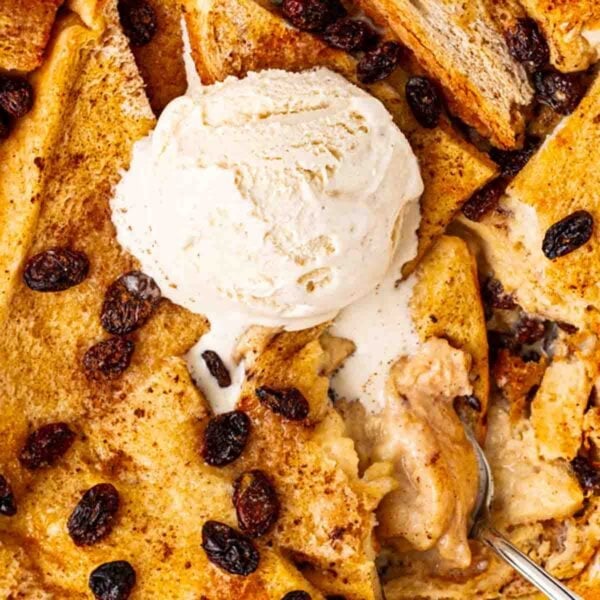
Desserts
Classic Bread and Butter Pudding
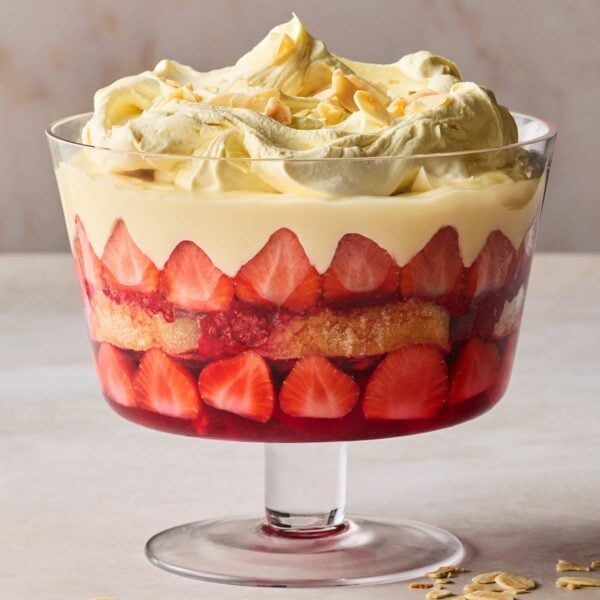
Desserts
Classic Trifle
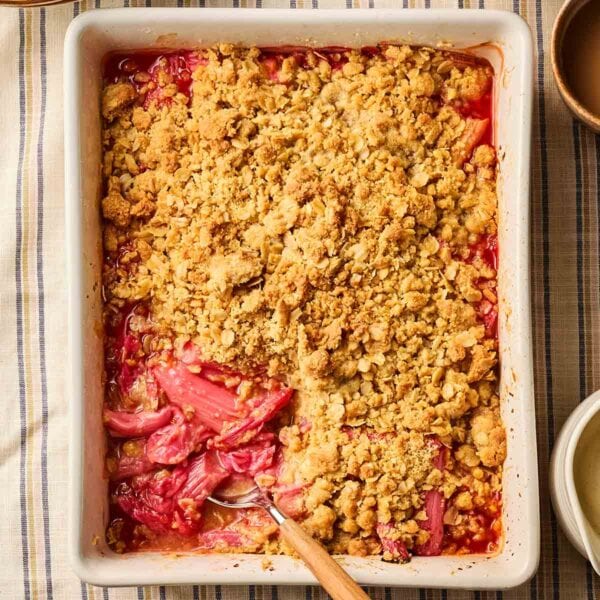
Desserts
Rhubarb Crumble
FAQs
I prefer custard as it’s my nostalgic treat, but ice cream also works really well, as does double cream (heavy cream) or crème fraiche.
Sure – follow the instructions in my Cherry Pie to get this effect on top of your pie.
Yes. Use a sharp knife to create 3 holes in the middle of the pie lid. This allows the steam to release and prevents the pastry from getting soggy. It also stops the chance of explosions!
Yes! I recommend resting it for about 15 minutes when it comes out of the oven. It allows it to cool slightly and it will slice better, leaving your pie pieces intact. Don’t worry, it will still be nice and warm.
Make sure you piece the pastry for steam holes, brush over beaten egg before it goes in the oven and sprinkle over demerara sugar for extra crunch too.
Let me know how you got on and what you thought of these recipes. Please rate the recipe using the ⭐️ below.
Also I’d LOVE to see your cooking creations. If you’d like to share yours with me, you can tag me on Instagram (@tamingtwins).

Classic Apple Pie
Ingredients
For the filling:
- 700 g (1.5 lb) Bramley apples, Peeled, cored and sliced ½ cm thick
- 500 g (1 lb) Braeburn apples, Peeled, cored and sliced ½ cm thick
- 120 g (2/3 cup) Light brown sugar
- 1 tsp Cinnamon
- 1 tsp Vanilla extract
- 1 tbsp Cornflour (corn starch)
- 1/2 Lemon, Juice only
- Pinch of salt
For the pie lid:
- 500 g (1 lb) Shortcrust pastry
- 2 tsp Cornflour (corn starch)
- 1 Egg, Beaten
- 1 tbsp Demerara sugar
Instructions
- Cook and cool the filling: Add all of the filling ingredients to a large saucepan and cook gently over a medium-low heat for 10-20 minutes, stirring occasionally, until the apples have just softened. (The Bramleys should start to break down slightly while the Braeburn apples keep some shape.) Leave to cool completely. (This is important to make sure your pie isn’t soggy.)
- Preheat the oven: 200°C fan/220°C/425°F/Gas Mark 7.
- Prep the pie base: Roll out two-thirds of the pastry to ½ cm thick and line a 23cm pie dish. (Be gentle and try to make sure you don’t stretch the pastry as you put it in the pie dish.) Sprinkle the 2 tsp cornflour on top of the pastry base and gently smooth over the base.
- Add the filling: Spoon in the cooled apple filling. (Use a slotted spoon to separate your fruit and any excess liquid, so just the right amount of filling is going into your pie.)
- Add your lid: Roll out the remaining pastry, again to 1/2cm thick, and place over the top. Trim and crimp the edges of the base and top pastry so they are pushed together all around the outside of the pie.
- Prepare to bake: Cut 3 small steam holes in the middle of the lid with a small sharp knife. Gently brush over the beaten egg and sprinkle over the demerara sugar.
- Into the oven: Bake for 40-45 minutes until deep golden brown and crisp. (If the edges of the pie start browning too quickly, loosely cover them with foil.)
- Rest: Leave the pie to rest for at least 15 minutes before slicing.
- Serve with: Custard, double cream, ice cream or crème fraiche.
Did you make this recipe? Click here to let us know how it went and give it a ⭐️ rating! Your feedback helps us to make more recipes you really want.
Notes
Nutrition
Nutrition information is automatically calculated, so should only be used as an approximation. Nutritional values are per portion unless otherwise stated.